
To draw a wind turbine, gather materials like a pencil, ruler, compass, and paper. Sketch the main structure with basic shapes like a tower and nacelle lines. Add the turbine blades with attention to size and shape. Draw the hub accurately, focusing on shape and connection points. Detail the turbine with components such as blades, tower, nacelle, and rotor. Refine the drawing by adding intricate details and erasing unnecessary lines. Consider adding color or shading for depth. Finally, perfect your drawing by incorporating final touches for a polished illustration.
Key Takeaways
- Start by sketching basic shapes like the tower and nacelle.
- Add turbine components with attention to size and angle.
- Focus on detailing the hub with connection points and size.
- Include components like blades, tower, nacelle, and rotor.
- Refine drawing with details like bolts, cables, and safety components.

Mr. Pen- Professional Compass for Geometry, Extra Lead, Metal Compass Drawing Tool for Students, Drafting and Engineering, Technical Drawings, Circles and Geometry Projects
1 High Quality Professional Bow Compass For Math, Geometry, Art, Drafting And Drawing; Creates Circles Up To 8…
As an affiliate, we earn on qualifying purchases.
As an affiliate, we earn on qualifying purchases.
Materials Needed
To draw a wind turbine, you'll need a pencil, eraser, ruler, protractor, compass, and paper. These necessary tools will assist you in accurately measuring angles, drawing circles, and sketching the various components of the turbine.
The ruler and protractor are vital for ensuring straight lines and precise angles in your drawing. With the help of a compass, you can easily create perfect circles for the blades and other circular parts of the turbine.

Mr. Pen Geometry Set with 6 Inch Swing Arm Protractor, Divider, Set Squares, Ruler, Compasses and Protractor, 15 Piece Set
Geometry Set For All Levels Designed in USA
As an affiliate, we earn on qualifying purchases.
As an affiliate, we earn on qualifying purchases.
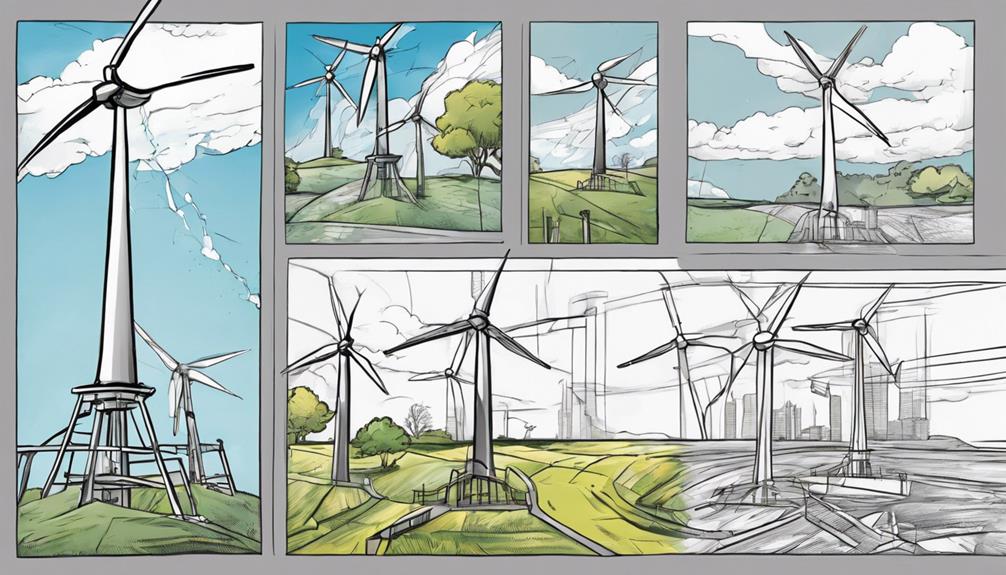
Sketch the Main Structure
Start by outlining basic shapes such as a vertical line for the tower and a horizontal line for the nacelle.
Add detailing elements like the hub and blades to capture the essence of a wind turbine.
Remember to focus on proper spacing and angles to guarantee the structure looks accurate and functional.
Outline Basic Shapes
Begin by sketching a large rectangle as the foundation for the wind turbine tower. This rectangle will serve as the base on which the rest of the wind turbine structure will be built. On top of this foundation, add a smaller rectangle to represent the tower where the turbine will be mounted. This smaller rectangle should be proportionate to the base to maintain balance in the drawing. Next, draw a circle at the top of the tower to symbolize the hub where the turbine blades will be attached. Extend three long, narrow triangles from the hub circle to illustrate the turbine blades. These triangles should be evenly spaced around the hub to mimic the actual layout of the blades on a wind turbine.
To help you visualize these steps better, refer to the table below:
| Shape to Draw | Purpose |
|---|---|
| Large rectangle | Foundation of the wind turbine tower |
| Smaller rectangle | Tower where the turbine will be mounted |
| Circle | Hub for attaching the turbine blades |
| Long, narrow triangles | Representation of the turbine blades |
| Additional details | Support beams, bolts, and extra structures |
Add Detailing Elements
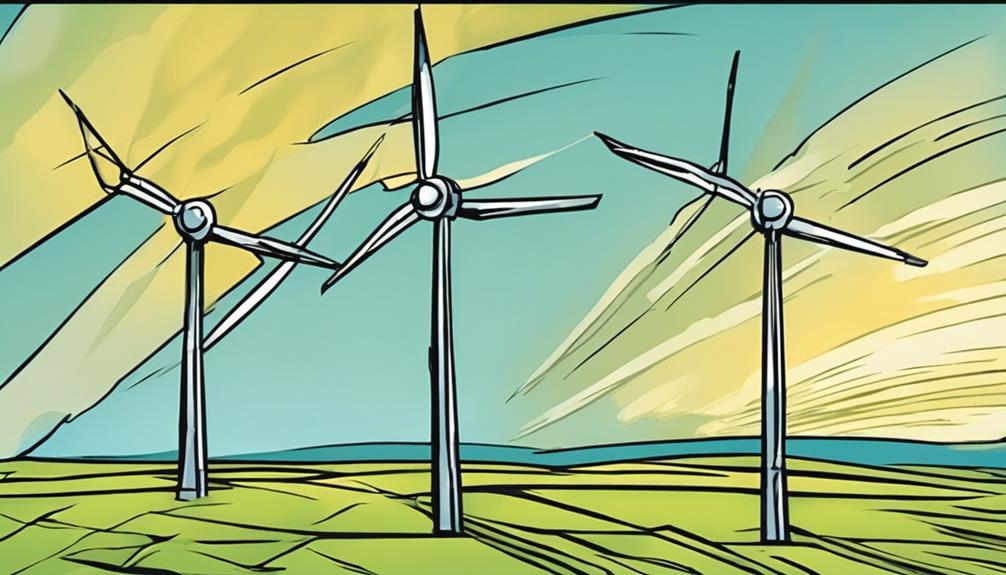
Sketching the main structure of the wind turbine involves detailing the tower, nacelle, and blades with attention to proportions and angles for accuracy. Start by outlining the tower, ensuring it's tall and slender, with the correct height in relation to the other components.
Next, focus on the nacelle, the part that sits atop the tower and houses the generator. Pay close attention to its size and position, making sure it fits realistically on the tower. Then, add the blades, considering their length and curvature. Remember to show how they attach to the nacelle.
To enhance the realism of your drawing, include detailing elements like bolts, cables, and access doors. These small features can make a big difference in the overall look of your wind turbine illustration.
Utilize shading techniques to add depth and dimension, making the different parts stand out. Reference images or diagrams of wind turbines for guidance on how to accurately depict these detailing elements.

leuapl Eraser Pencils Set for Artists, Wooden Sketch Professional Highlight Painting Eraser Pen for Sketching Charcoal Drawings, Revise Erasing Details for Students Limner, 6PCS
1:The eraser is designed as pencil: It feels like pencil which easy to use and carry. you can…
As an affiliate, we earn on qualifying purchases.
As an affiliate, we earn on qualifying purchases.
Add the Turbine Blades
When incorporating the turbine blades into your wind turbine drawing, make certain you pay attention to their size, shape, and angle for optimal energy production. Wind turbine blades are typically crafted from materials like fiberglass, carbon fiber, or wood, engineered to efficiently capture wind energy.
The length of these blades can vary significantly, ranging from 30 to 80 meters, depending on the wind turbine's size and power capacity. The shape and angle of the blades play a crucial role in maximizing energy production by leveraging aerodynamic principles to harness wind power effectively.
Most modern wind turbines are designed with three blades, as this configuration strikes a balance between efficiency, cost-effectiveness, and stability.
Adding the turbine blades to the main structure of your drawing is a pivotal step in completing the wind turbine assembly, making it ready to generate renewable energy efficiently. Ensure that the blades are proportionate to the turbine's size and are positioned correctly to harness the power of the wind effectively.

Soucolor 9" x 12" Sketch Book, 100 Sheets Top Spiral Bound Sketchbook with Acid-Free 68lb/100gsm Thick Drawing Paper, Art Sketch Pad for Kids, Adults & Artist, Professional Art Supplies for Beginners
Premium Artist Drawing Paper: Premium drawing pads and sketchbooks with a 9 x 12-inch size are ideal for…
As an affiliate, we earn on qualifying purchases.
As an affiliate, we earn on qualifying purchases.
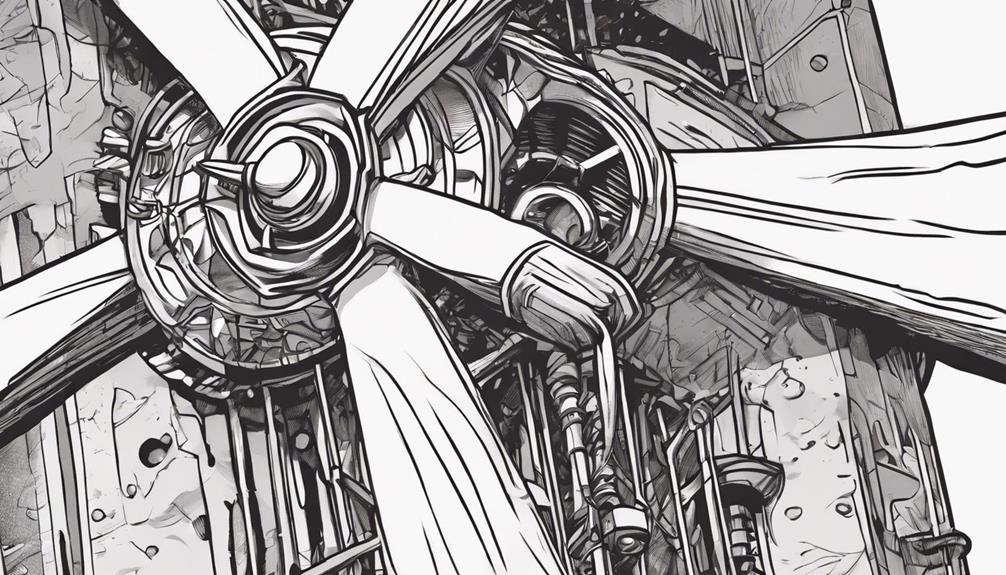
Draw the Hub

To accurately depict the central part of a wind turbine where the blades are attached, focus on drawing the hub with attention to its shape, size, and connection points.
The hub serves as the essential component that transfers wind energy from the blades to the generator. Typically constructed from sturdy materials like steel, the hub's robust design is necessary for supporting the blades and ensuring best wind capture efficiency.
When sketching the hub, make sure to emphasize details such as bolts, bearings, and pitch mechanisms that play key roles in the turbine's functionality.
Pay close attention to the size of the hub in relation to the overall turbine structure, as it needs to be proportionate to support the blades effectively.
Additionally, accurately illustrating the connection points where the blades meet the hub is important for capturing the essence of a functional wind turbine in your drawing.
Detailing the Turbine

When detailing the turbine, focus on the components like the tower, blades, nacelle, and rotor that work together to harness wind energy efficiently.
Explore the function of the aerodynamically shaped blades, pivotal for converting wind energy into mechanical power.
Understanding how each part contributes to the turbine's operation will enhance your drawing accuracy and showcase its functionality effectively.
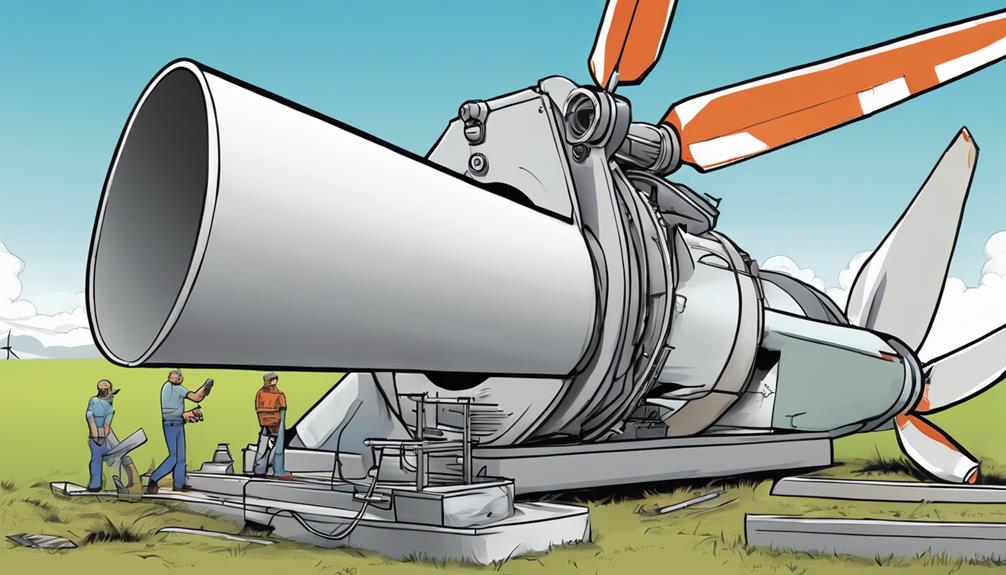
Wind Turbine Components
The core components of a wind turbine, including the tower, blades, and nacelle, play essential roles in harnessing wind energy efficiently.
The tower serves as the backbone of the turbine, supporting it and elevating it to the best heights where wind speeds are higher and more consistent.
Blades are vital elements that are aerodynamically designed to capture the kinetic energy of the wind and transform it into rotational motion. These blades are carefully engineered to maximize energy capture while minimizing drag.
The nacelle, located atop the tower, houses essential components such as the gearbox and generator. Within the nacelle, the gearbox converts the low-speed rotation of the blades into high-speed rotation for the generator to produce electricity.
Understanding the functions and interactions of these components is key for creating an accurate representation of a wind turbine in your drawings.
Function of Blades
Designing wind turbine blades involves optimizing their shape and length to efficiently capture kinetic energy from the wind and convert it into rotational mechanical energy.
The efficiency of a wind turbine in generating electricity greatly depends on the design of its blades. Typically, modern wind turbines feature three long blades attached to a central hub, resembling a massive rotating fan.
The material used for these blades, such as fiberglass or carbon fiber, is selected for its strength, flexibility, and ability to withstand various weather conditions. Additionally, the angle of the blades can be adjusted to maximize energy capture based on the wind's speed and direction.
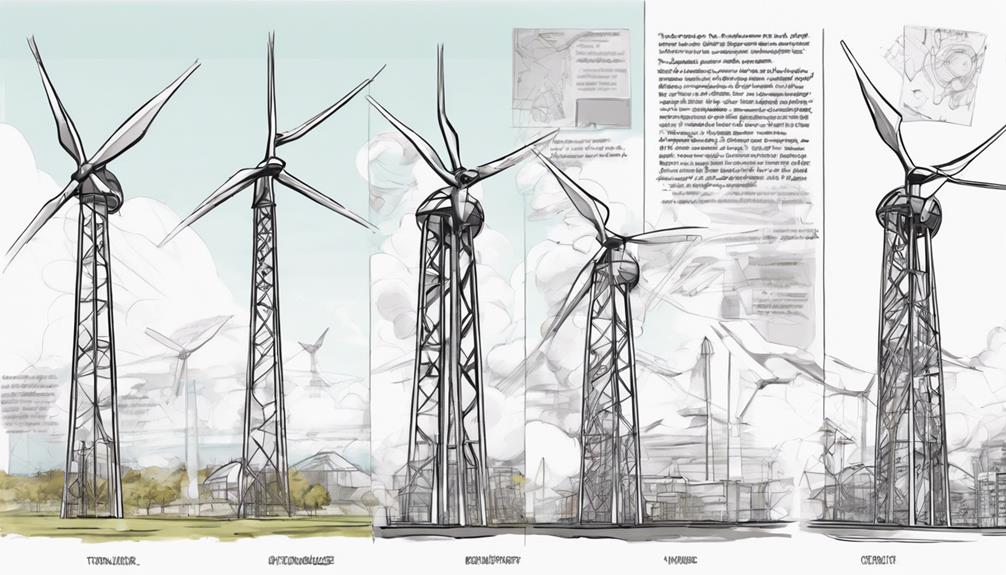
Refine the Drawing

To refine your wind turbine drawing, consider adding intricate details such as the support structure, nacelle, and hub at the center of the blades. These elements are essential for the realistic portrayal of a wind turbine.
Focus on including smaller features like bolts, cables, and safety components to enhance the authenticity of your drawing. Use a ruler to make sure that the turbine blades are drawn with straight lines and are evenly spaced, maintaining their functionality.
Employ shading and highlighting techniques to introduce depth and dimension to your artwork, making it more visually appealing. Remember to pay attention to proportions and details, double-checking for accuracy before finalizing your drawing.
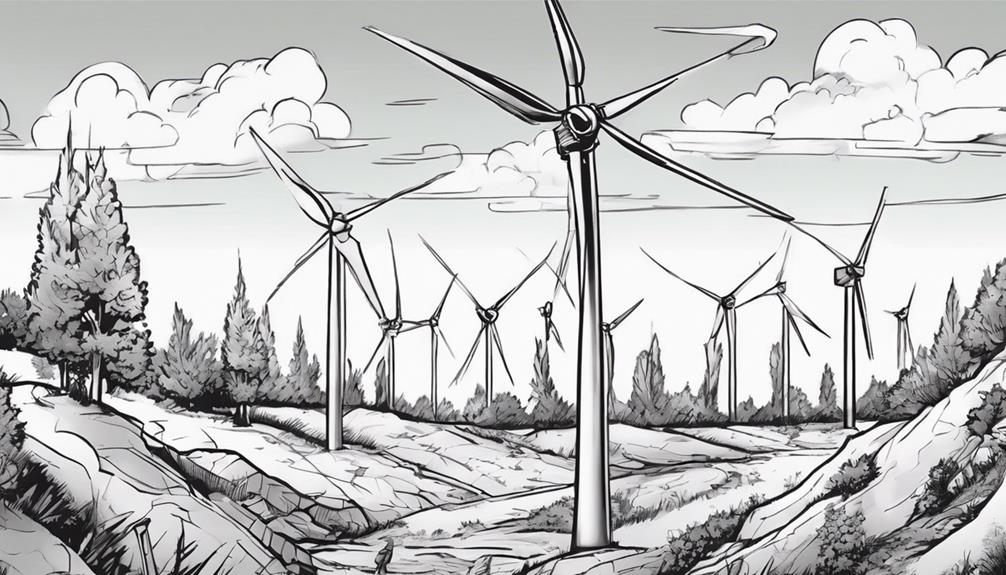
Erase Unnecessary Lines
Carefully erase any unnecessary lines from your wind turbine drawing using a soft eraser. Make sure you focus on removing only the initial sketch lines that aren't vital for the final outcome.
By doing this, you'll highlight the important outlines and details that define the structure of the wind turbine, giving your drawing a clean and polished appearance.
Take your time during the erasing process to prevent smudging or damaging the paper. It's beneficial to step back regularly and evaluate your drawing to make sure you're eliminating the correct lines.
This step is essential in refining your artwork and preparing it for the next stages of the drawing process. Remember, precision in erasing will contribute significantly to the overall quality of your wind turbine illustration.
Add Color or Shading
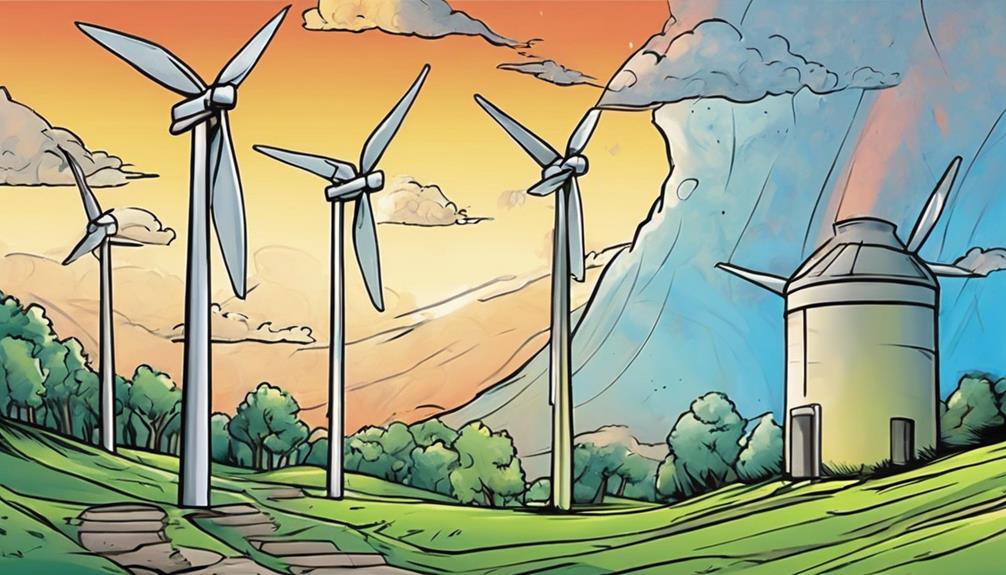
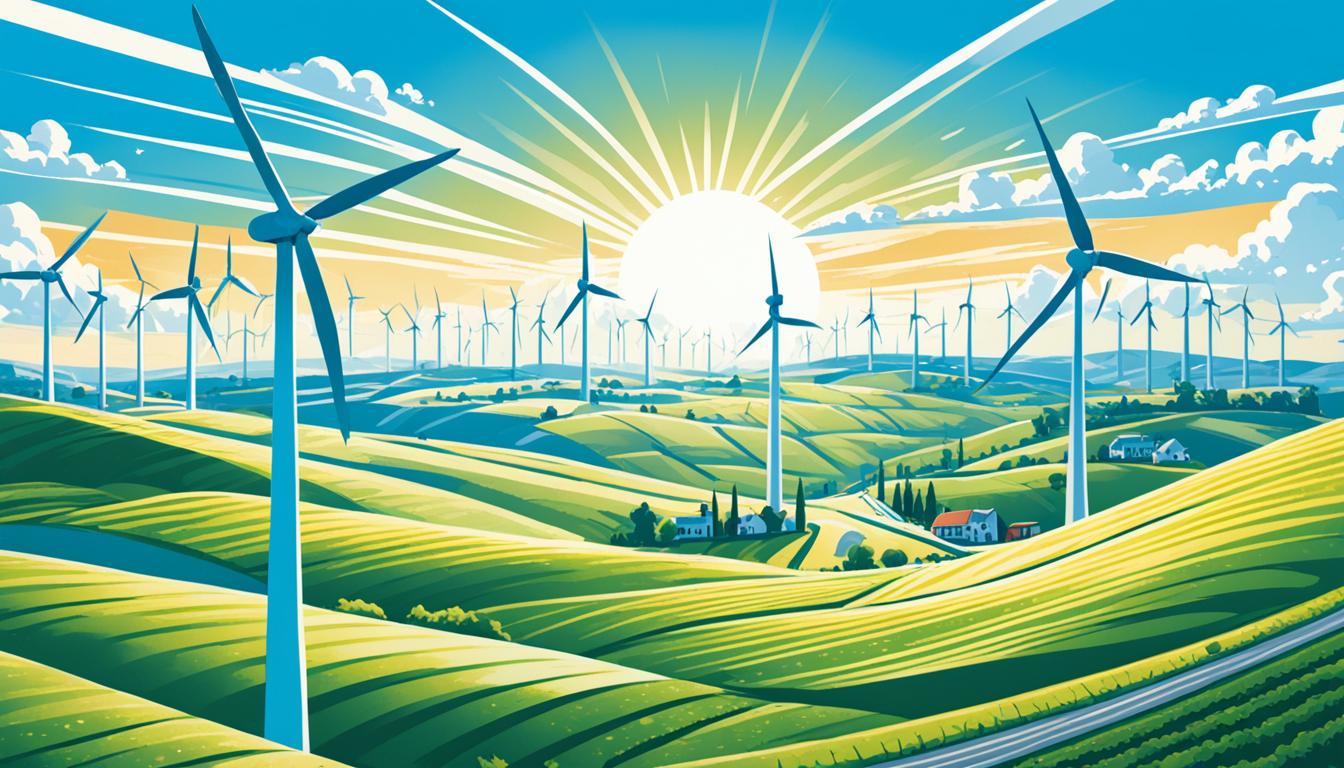
Consider integrating tones of azure and ivory to symbolize the sky and clouds encircling the wind turbine in your artwork. By utilizing assorted hues of blue, you can establish a sense of dimension and authenticity in the sky.
Incorporating ivory highlights can intensify the cloud formations, providing your drawing with a more energetic appearance.
To illustrate the nearby landscape, such as verdant fields or grass where the wind turbine is situated, contemplate integrating shades of viridescent. This will anchor the turbine and furnish perspective to the setting you're constructing.
For the framework and blades of the wind turbine, experiment with tones of graphite or metallic shades. This will assist in conveying the industrial and mechanical aspects of the turbine.
To produce a seamless shift between colors and tones, consider blending techniques. Furthermore, you can introduce texture and dimension to distinct components of the turbine using cross-hatching or stippling techniques.
These methods will enhance intrigue and intricacy to your drawing.
Final Touches
Enhance the realism of your wind turbine drawing by adding final touches that emphasize shadows, highlights, and intricate details. Adding shading is essential to creating depth and dimension in your drawing. Utilize a darker pencil or shading tool to accentuate shadows and highlights on the turbine blades, giving them a three-dimensional appearance. Incorporate small details such as bolts, connectors, and textures to make your wind turbine illustration more lifelike and visually engaging.
When adding shadows, consider the direction of the light source to make sure consistent shading throughout the drawing. This will help create a sense of realism and make your wind turbine stand out. Additionally, use erasers to clean up any stray lines or smudges, providing a polished final look to your artwork.
Frequently Asked Questions
What Are the Steps to Make a Wind Turbine?
To make a wind turbine, start by sketching the base, adding a tall tower, and drawing rotor blades in a fan shape. Detail the nacelle and include components like the hub and generator. Finish by completing all parts for a realistic drawing.
How Does a Wind Turbine Work Step by Step for Kids?
Imagine a giant pinwheel harnessing the breeze, spinning its blades to generate power like magic. Wind rushes, blades turn, generator hums, and electricity flows. Voila! Wind turbines convert air into energy, a green marvel for kids to explore.
How Do You Draw a Simple Windmill for Kids?
To draw a simple windmill for kids, start with a big rectangle as the base. Add a smaller one on top for the tower. Draw three long, thin rectangles for blades. Include a small circle at the top for rotation. Finish with details like windows and doors.
What Is the Basic Design of a Wind Turbine?
To draw the basic design of a wind turbine, start with three main parts: the tower, rotor blades, and nacelle. The rotor blades capture wind energy, convert it into motion, and the nacelle houses the gearbox and generator.
Can I Use the Same Drawing Steps for the Wind Turbine to Make a Dump Load for it?
Yes, the same drawing steps for the wind turbine can be used to create a dump load for it. A wind turbine dump load helps regulate the turbine’s output when the batteries are fully charged. It’s a crucial component for efficient energy production and storage.
Conclusion
Now you have a wind turbine drawing that's ready to spin into action!
Remember, practice makes perfect, so don't be afraid to try again if it doesn't turn out exactly how you want it.
As they say, Rome wasn't built in a day, and neither was a perfect wind turbine drawing.
Keep at it and soon enough, you'll be drawing them with your eyes closed!