
To quickly fix lawn dethatching problems, first identify if your lawn feels spongy or drains poorly, indicating thatch buildup. Use a dethatching rake or power dethatcher, and aerate your soil beforehand if it’s compacted. Remove debris after dethatching, then fertilize and water properly to help your grass recover. Avoid common mistakes like dethatching at the wrong time or rushing the process. Keep exploring for detailed tips to guarantee a healthy, lush lawn.
Key Takeaways
- Recognize signs of thatch buildup like spongy turf, poor drainage, and shallow roots to determine the need for dethatching.
- Use appropriate tools such as power dethatchers or lawn scarifiers for efficient removal.
- Aerate soil before dethatching to reduce compaction and improve organic matter breakdown.
- Follow up with proper fertilization, watering, and mowing to help your lawn recover quickly.
- Incorporate organic lawn care methods like compost tea and organic fertilizers to prevent future thatch issues.

WEN 15-Inch 13-Amp 2-in-1 Electric Dethatcher and Scarifier with 12-Gallon Collection Bag (DT1315)
5-position height adjustment ranges from a +1/4 to -1/2-inch raking depth
As an affiliate, we earn on qualifying purchases.
As an affiliate, we earn on qualifying purchases.
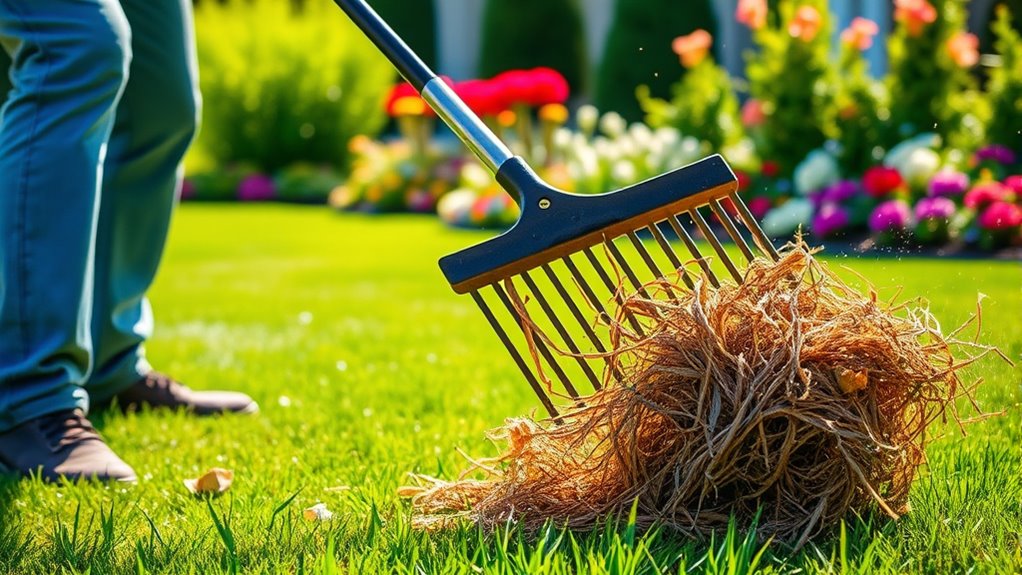
Recognizing Signs of Thatch Buildup

Have you ever noticed your lawn feeling spongy or uneven underfoot? That’s a common sign of thatch buildup, which can hinder healthy grass growth. Thatch is a layer of dead grass, roots, and organic debris that accumulates between the soil and green grass. To recognize if you have too much thatch, check your lawn’s texture and feel for a spongy or springy surface. You might also notice poor drainage or shallow roots. Organic methods like lawn aeration help break up compacted soil and reduce thatch naturally. Regular aeration creates small holes that allow air, water, and nutrients to reach the roots more effectively. Being aware of lawn health indicators can help you catch thatch early and use organic methods to keep your lawn healthy and thriving.

EWORK Electric Dethatcher and Scarifier 14-Inch 12 Amp 2-in-1 Lawn Dethatcher and Aerator with Collection Bag, Blade Replacement Without Tool, 5-Position Depth Adjustment for Gardening Care
【Powerful 12-Amp Motor & 14” Wide Path】EWORK lawn dethatcher and scarifier is driven by a stable 12-amp motor…
As an affiliate, we earn on qualifying purchases.
As an affiliate, we earn on qualifying purchases.
Tools Needed for Quick Dethatching

To efficiently dethatch your lawn, you’ll need the right tools that make the process quick and effective. A dethatching rake or a power dethatcher can loosen and remove thick thatch layers efficiently. For larger lawns, a lawn aerator helps improve soil health and promotes organic lawn care by enhancing nutrient absorption. A lawn scarifier can also be useful for breaking up compacted soil and thatch buildup. Keep a sturdy pair of gloves and safety goggles on hand to protect yourself during the process. Using the proper tools guarantees you can tackle dethatching swiftly without damaging your grass. Pairing these tools with regular lawn aeration supports organic lawn care practices and keeps your yard healthy and vibrant. Additionally, understanding different lawn tuning techniques can help optimize your yard’s overall health and appearance. With the right equipment, you’ll turn a tough task into a quick fix.

Dual-Action Thatch Rake for Lawn – Efficient 15" Thatching Rake with Sharp Dethatching Blade,Manual Dethatcher & Scarifier Tool for Dead Grass Removal,Soil Loosening,Garden Yard Lawn Care,55" Long
Deep-Clean Dethatching with 19 Sharp Tines- Clear More, Clog Less, Grow Faster! This 15" extra-wide thatch rake head…
As an affiliate, we earn on qualifying purchases.
As an affiliate, we earn on qualifying purchases.
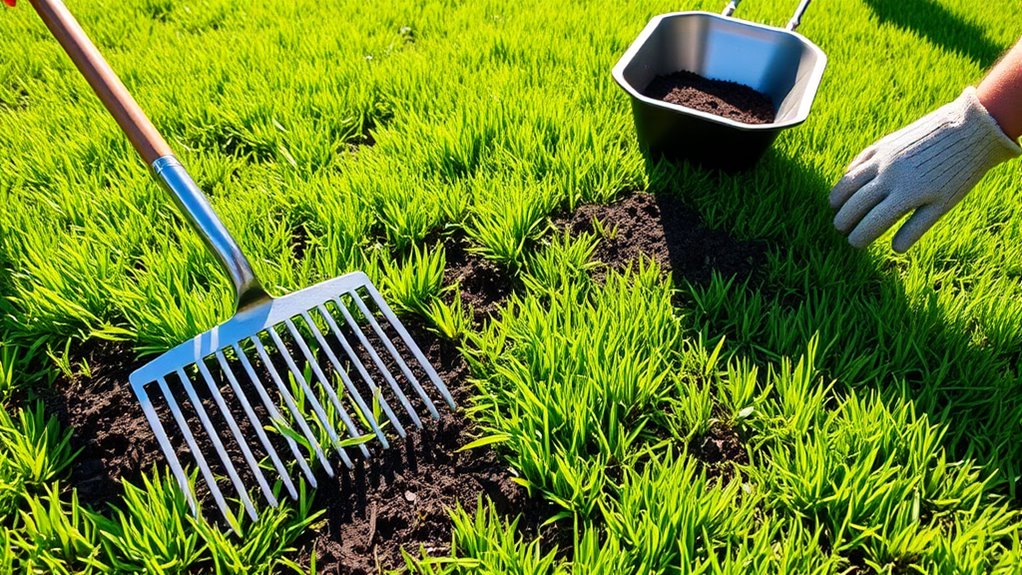
Preparing Your Lawn for Dethatching
Before you start dethatching, check your lawn’s condition to identify problem areas. Clear away any debris, sticks, or rocks that could interfere with the process. Removing obstacles guarantees your dethatching tools work effectively and prevents potential damage.
Assess Lawn Conditions
Wondering if your lawn is ready for dethatching? First, assess its overall condition. Check if the grass is green and healthy; dull, patchy areas may need attention before dethatching. Test soil moisture—dry soil can hinder soil aeration, essential for grass health. If the soil feels compacted, aerate it to improve air and water flow. Use this table to evaluate your lawn:
| Aspect | What to Look For |
|---|---|
| Grass health | Green, dense, minimal brown patches |
| Soil moisture | Slightly moist but not soggy |
| Soil compaction | Hard, resistant soil when pressed with a tool |
| Thatch buildup | Thatch layer is thick and spongy |
| Aeration needs | Signs of poor soil aeration, such as water runoff |
Assess these factors to determine if your lawn is prepared for dethatching.
Clear Debris and Obstacles
Clear your lawn of any debris, such as fallen leaves, twigs, or stones, to guarantee a smooth dethatching process. Removing obstacles helps your dethatching tool work efficiently and prevents damage. While cleaning up, check for signs of garden pests that could weaken your grass or soil structure. Clearing debris also promotes better soil aeration, which is essential after dethatching to restore healthy grass growth. Make certain to remove larger objects that could clog equipment or hinder effective dethatching. A tidy lawn allows for easier access and ensures you target thick thatch build-up without interference. Plus, a clean surface reduces the risk of spreading pests or disease. Proper preparation creates ideal conditions for dethatching, leading to a healthier, more vibrant lawn. Additionally, addressing site cleanliness can improve overall site performance and help maintain a pest-free environment.

Scotts Natural Lawn Food, Lawn Fertilizer, For All Grass Types, Apply Any Season, OMRI Listed, Covers 4,000 sq. ft., 29.1 lbs.
Scotts Natural Lawn Food builds a thick, green lawn – naturally
As an affiliate, we earn on qualifying purchases.
As an affiliate, we earn on qualifying purchases.
Step-by-Step Dethatching Process
To start the dethatching process, make sure your lawn is prepared and dry. Choose the right dethatcher for your grass type, and then work across the yard in even passes. Afterward, rake up the thatch and debris to leave your lawn clean and ready for new growth.
Prepare Your Lawn
Before you start dethatching, it’s essential to prepare your lawn to make sure the process goes smoothly. Begin by inspecting your yard for pests, as they can weaken your grass and interfere with dethatching. Address any pest issues before proceeding. Next, focus on soil compaction; compacted soil can hinder healthy grass growth and make dethatching less effective. Aerate your lawn if needed to loosen the soil, allowing nutrients and water to reach the roots. Clear the area of debris, sticks, and dead grass to ensure an even dethatching process. Properly preparing your lawn helps promote healthy recovery afterward and prevents future problems, setting a solid foundation for successful dethatching. Additionally, understanding business trends such as alternative investments can inspire innovative approaches to lawn care investments or equipment.
Use Proper Dethatcher
Choosing the right dethatcher is essential for effective lawn care. If you’re using a power rake, verify it has sharp dethatching blades designed for your grass type. Properly adjusting the depth settings helps avoid damaging roots or pulling up too much thatch. Start by testing a small area to see how the blades cut through the thatch layer. When operating, move the power rake steadily in overlapping passes to cover the entire lawn evenly. Make sure the blades are sharp; dull blades won’t remove thatch effectively and could tear up your grass. Keep the dethatcher at the correct height to loosen the thatch without harming the healthy grass beneath. Using the proper dethatcher with well-maintained blades ensures efficient, safe, and thorough dethatching. Additionally, choosing a vetted product can help ensure safety and effectiveness during the process.
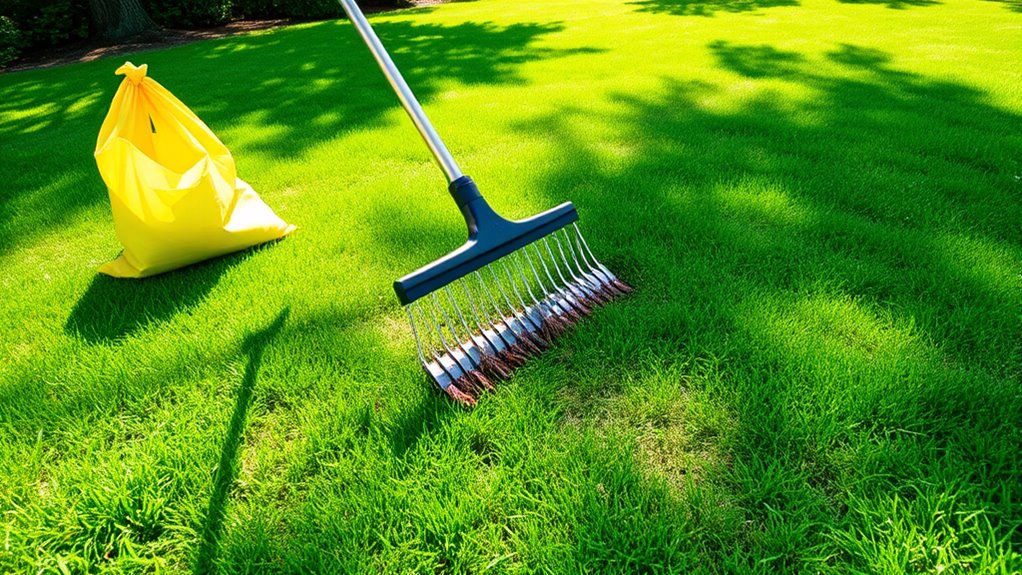
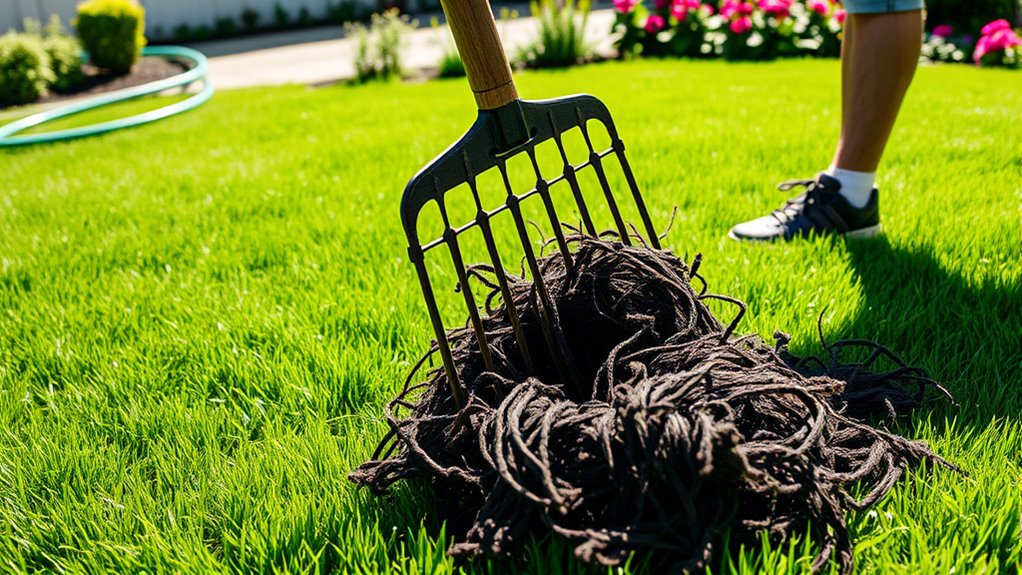
Rake and Clean Up
Have you finished dethatching and are ready to tidy up your lawn? Start by raking thoroughly to remove loose thatch, debris, and dead grass. This leaf removal step clears the surface, making your lawn look neat and healthy. Next, focus on grass aeration; it helps improve soil drainage and promotes healthy root growth. Use a rake with stiff bristles or a dethatching rake to lift any remaining thatch and debris. Collect all the loosened material and dispose of it properly to prevent suffocation of the grass. Afterward, consider watering your lawn deeply to encourage recovery. This clean-up process ensures your grass can breathe and absorb nutrients efficiently, setting the stage for a lush, vibrant lawn after dethatching.
Post-Dethatching Lawn Care Tips
After you finish dethatching your lawn, it’s important to give it proper care to promote healthy growth. One key step is addressing soil compaction, which can hinder root development and water absorption. Aerating your lawn helps relieve this compaction by creating small holes that allow air, water, and nutrients to reach the roots more effectively. This process encourages stronger, deeper roots and improves overall turf health. Additionally, fertilize your lawn with a balanced, slow-release fertilizer to supply essential nutrients for recovery. Keep the soil moist but not waterlogged, and avoid heavy foot traffic during the recovery period. Incorporating nutrient-rich ingredients into your fertilization plan can further enhance turf recovery and vitality. Following these post-dethatching tips will help your lawn bounce back quickly and set the stage for lush, healthy growth.
When to Reseed or Overseed
Once your lawn has recovered from dethatching and you’ve addressed soil compaction, it’s time to contemplate reseeding or overseeding. Knowing the right timing guarantees healthy, dense growth. Here are key steps:
- Conduct soil testing to determine nutrient levels and pH balance, guiding your fertilization plan.
- Perform lawn aeration to improve soil airflow, helping new seeds establish roots.
- Reseed in early fall or spring when temperatures are ideal for germination.
- Overseed thin or patchy areas during the growing season to strengthen your lawn’s density.
Preventing Future Thatch Accumulation

To prevent future thatch buildup, you need to adopt proactive lawn care practices that promote healthy soil and vigorous grass growth. Regular lawn aeration is key, as it reduces soil compaction and improves air, water, and nutrient penetration. This process encourages strong root development and disrupts the organic layer that leads to thatch accumulation. Additionally, practice thatch prevention by avoiding excessive fertilization, overwatering, and mowing too short, which stress the grass and promote thatch buildup. Keep your lawn healthy with proper watering schedules and mowing heights suited to your grass type. Incorporating proper thatch management techniques can further enhance lawn health and prevent buildup. By integrating aeration and attentive maintenance, you create an environment less prone to thatch, ensuring your lawn stays lush, healthy, and resistant to future problems.
Common Mistakes to Avoid

Avoiding common mistakes can make or break your efforts to maintain a healthy lawn and prevent thatch buildup. To effectively iron out issues and avoid pitfalls, steer clear of these errors:
- Overdoing it with dethatching tools, which can damage roots.
- Dethatching at the wrong time of year, reducing effectiveness.
- Ignoring soil moisture levels, making dethatching less efficient.
- Rushing the process without proper cleanup, leading to debris buildup.
- Neglecting to assess thatch buildup regularly, which can cause unnecessary damage or ineffective treatment.
Alternatives to Traditional Dethatching

Are there effective alternatives to traditional dethatching methods? Yes. Instead of aggressive raking or power dethatching, you can improve your lawn naturally with organic fertilizers. These boost microbial activity in the soil, helping thatch decompose over time. Applying compost tea is another gentle option; it introduces beneficial microbes that break down organic matter, reducing thatch build-up. Regularly feeding your lawn with organic fertilizers encourages healthy root growth and a stronger turf, which resists thatch accumulation. Aeration combined with these organic practices enhances soil health and promotes decomposition of organic layers beneath the grass. Incorporating appropriate lawn care practices can further support a healthy, resilient lawn. These alternatives are less disruptive, more environmentally friendly, and can result in a healthier, more resilient lawn without the risks associated with traditional dethatching methods.
Frequently Asked Questions
Can I Dethatch During the Peak Growing Season?
Yes, you can dethatch during the peak growing season, but it’s best to do so when your lawn is actively growing. Aeration benefits your lawn by relieving soil compaction, and dethatching helps improve nutrient absorption. Just remember, fertilize soon after dethatching to maximize fertilizer benefits, and avoid heavy dethatching during extreme heat or drought to prevent stress. This approach keeps your grass healthy and encourages strong growth.
How Often Should I Dethatch My Lawn?
Think of your lawn as a breathing soul; it needs gentle help to stay lively. You should dethatch once or twice a year, especially if you notice soil compaction or a thick layer of thatch. Regular lawn aeration allows air, water, and nutrients to reach roots, preventing excessive thatch buildup. Dethatch when needed, typically in early spring or fall, to keep your yard healthy and vibrant, just like a well-tended garden of life.
Is Lawn Dethatching Safe for All Grass Types?
Lawn dethatching is generally safe for most grass types, but you should consider grass compatibility before proceeding. Some grass varieties, like Bermuda or Kentucky bluegrass, tolerate dethatching well, while others, such as fescue, may face increased dethatching risks. Always assess your grass type and avoid aggressive dethatching if your lawn is stressed or delicate. Proper timing and technique help minimize risks and make certain of a healthy, vibrant lawn.
What Are the Best Weather Conditions for Dethatching?
You should dethatch when the weather is mild, ideally in early spring or fall, with soil that’s moist but not waterlogged. These conditions promote grass health and guarantee effective soil aeration. Avoid hot, dry weather, as it stresses your lawn, making it harder to recover. Dethatching in suitable weather helps your grass breathe better, improves nutrient absorption, and maintains a lush, healthy lawn.
Will Dethatching Harm Existing Lawn Roots?
Dethatching won’t harm your lawn roots if done properly, especially after lawn aeration. It targets thatch buildup, which can suffocate roots and hinder water and nutrient absorption. By removing excess thatch carefully, you allow roots to breathe and grow stronger. Just avoid aggressive dethatching during stressed periods, like droughts or extreme heat, to protect your lawn’s health and make sure roots thrive without damage.
Conclusion
Now that you know how to tackle thatch buildup, picture your lawn as a lush, vibrant carpet—each blade standing tall and healthy. With quick action and the right tools, you can restore your yard’s beauty in no time. Don’t let thatch weigh down your grass’s potential; instead, be the gardener who breathes new life into their lawn. Your sparkling, thriving yard is just a dethatching away—ready to flourish under your care.