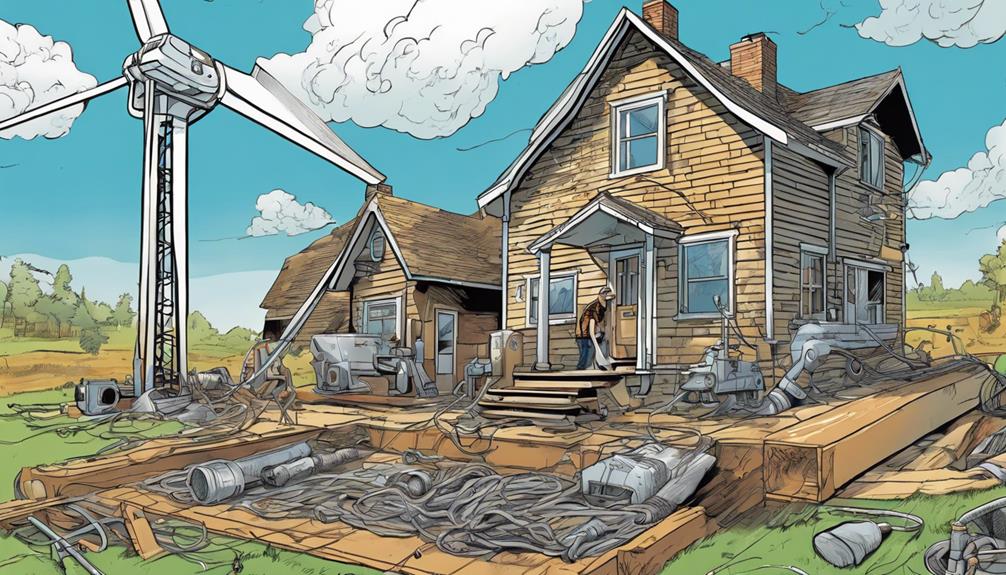
To wire a wind turbine to your house effectively, start by confirming a sturdy support pole is in place. Next, securely mount it on your roof and attach it to the turbine. Use a 1.5-inch schedule 40 mounting pipe with metal crabs for a stable installation. Properly secure the support pole below grade. Protect metal components with anti-corrosive coatings and regular maintenance. After wiring, add a charge controller and set up the electromagnetic brake. Successfully completing these steps will guarantee a safe and efficient wind turbine system for your house.
Key Takeaways
- Use appropriate gauge wire to connect the turbine to a charge controller.
- Connect the charge controller to deep cycle batteries for energy storage.
- Use an inverter to convert DC power from batteries to usable AC power.
- Connect the inverter to your house's electrical panel for power distribution.
- Consider grid tie-in systems for excess energy to be fed back into the grid.
Support Pole Preparation
To prepare the support pole for your wind turbine, begin by selecting a 3-inch galvanized steel pole with a 1.5-inch schedule 40 pipe. This sturdy material provides the necessary strength to withstand the wind turbine's weight and the elements.
Galvanized steel is chosen for its corrosion-resistant properties, ideal for outdoor applications where exposure to moisture is inevitable. To further enhance the pole's durability, metal flats are welded onto it to prevent water ingress and maintain structural integrity over time.
Proper corrosion protection is vital to guarantee the longevity of the support pole. Applying a protective coating or zinc layer can help shield the steel from rust and corrosion, extending the lifespan of the pole and ultimately the wind turbine system.
Roof Support Mounting
When considering roof support mounting for your wind turbine, it's essential to reinforce your roof structure to handle the weight and forces involved.
Ensuring stability and safety means securely attaching the turbine to your roof using metal flats and additional support.
Roof Reinforcement Methods
Consider strengthening your roof for wind turbine mounting by adding metal flats or beams to distribute the load evenly and guarantee stability and safety. Roof reinforcement is a critical step in the wind turbine installation process, ensuring that your roof can support the additional weight and forces exerted by the turbine. By consulting with a structural engineer or contractor, you can determine the most suitable method for reinforcing your specific roof type.
To give you a clearer idea of the options available for roof reinforcement, here is a comparison table showcasing common methods:
| Roof Reinforcement Method | Description | Pros | Cons |
|---|---|---|---|
| Metal Flats | Horizontal metal strips to spread load | Even weight distribution | May require professional installation |
| Beams | Vertical supports for added strength | Excellent stability and support | Potential for increased cost |
Choose the method that best fits your roof's requirements and consult with a professional for a safe and secure wind turbine installation.
Stability and Support Techniques
Strengthening your roof for wind turbine mounting requires utilizing stability and support techniques. Metal flats welded to the support pole guarantee durability and prevent water ingress.
Before installing the wind turbine, conducting a thorough site assessment is essential to determine the best location for maximum efficiency.
Additionally, incorporating metal flats on the support pole secures an attachment point to the roof structure.
To provide the necessary support, extra roof reinforcement may be needed, especially if the roof structure isn't designed to bear the weight of the turbine.
Using a 1.5-inch schedule 40 pipe for mounting the turbine securely is recommended. Metal crabs can be employed to secure the pole below grade, enhancing stability.
Applying corrosion protection to the installation will help prolong the lifespan of the wind turbine system, ensuring it operates effectively for years to come.
Turbine Mounting Pipe
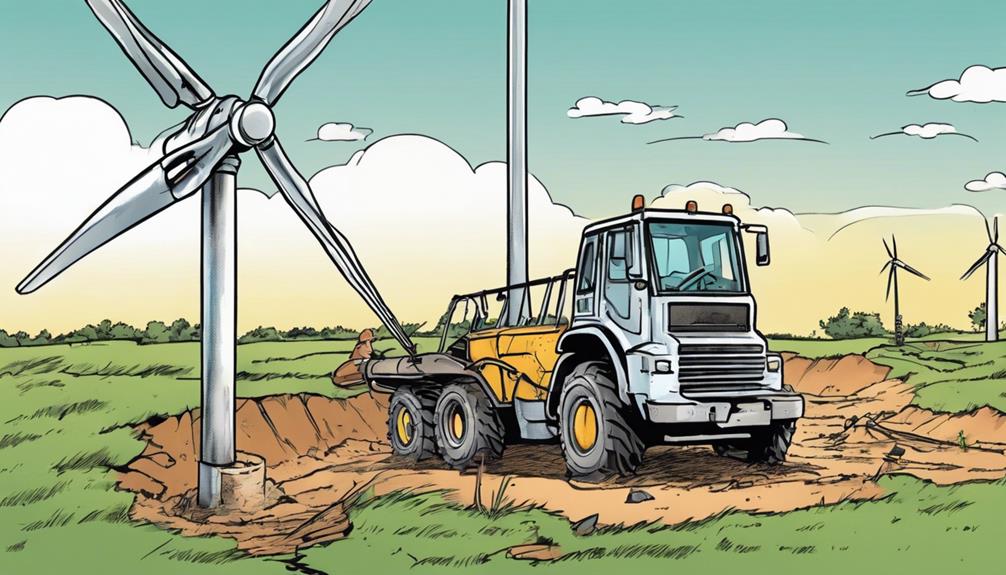
Securing your wind turbine to the support pole involves using a 1.5-inch schedule 40 pipe known as the turbine mounting pipe. This pipe is vital for the stability and longevity of your wind turbine system.
The turbine mounting pipe is usually attached to the support pole using metal crabs, ensuring that it's firmly held in place below grade. Welded metal flats on the support pole further improve the installation by preventing water ingress and increasing durability.
The turbine mounting pipe plays an important role in securely attaching the wind turbine to the support structure, providing the foundation for the entire system. Proper installation of the turbine mounting pipe is essential to guarantee that your wind turbine is securely mounted and can withstand various weather conditions.
Below-Grade Preparation Steps

Preparing beneath-grade for your wind turbine installation involves excavating holes and securing the support pole with concrete pouring. The support pole plays a pivotal role in providing stability and structural integrity to the wind turbine system. To guarantee a strong foundation, metal crabs are often used to secure the pole beneath grade, preventing any shifting or movement once installed.
The concrete pouring around the support pole creates a solid base that can withstand the forces exerted by the wind turbine. This beneath-grade preparation step is essential for the overall safety and longevity of the wind turbine. Without a properly secured support pole and stable foundation, the turbine system could be at risk of structural failure or collapse.
Corrosion Protection Techniques
You should consider applying anti-corrosive coatings to metal components of your wind turbine system.
Galvanizing steel poles and pipes can offer a strong defense against corrosion in outdoor settings.
Welding metal flats to poles is another effective way to prevent water intrusion and corrosion damage in the long run.
Corrosion Prevention Methods
To prevent corrosion in wind turbines, various techniques are commonly employed. These include applying anti-rust coatings and using sacrificial anodes. Corrosion protection is essential for the longevity of wind turbine components.
Anti-rust coatings or paints act as a shield between metal parts and environmental factors, inhibiting the onset of rust and deterioration. Galvanizing steel components provides an additional layer of protection, especially in harsh weather conditions.
Utilizing sacrificial anodes or cathodic protection systems can effectively prevent corrosion on critical turbine components by diverting the corrosive elements away from the main structure. Regular maintenance and inspections play a significant role in identifying and addressing corrosion issues early on, thereby extending the turbine's lifespan.
Implementing proper grounding techniques and utilizing corrosion-resistant materials during construction are proactive measures to mitigate the risks associated with corrosion in wind turbines. By incorporating these prevention methods, you can ensure the best performance and durability of your wind turbine system.
Protective Coating Application
Applying protective coatings is vital for safeguarding wind turbine components from corrosion caused by exposure to environmental elements. To guarantee long-lasting protection, proper corrosion protection techniques must be employed, starting with thorough surface preparation. This includes cleaning the surface to remove any contaminants that could hinder the adhesion of the protective coating.
Once the surface is adequately prepped, the next step is to apply a corrosion-resistant primer to enhance the bonding of the protective coating. The final step involves applying the protective coating itself, which acts as a barrier against corrosive agents. Materials such as galvanized steel and specialized coatings are commonly used to extend the lifespan of wind turbine components.
Remember that regular maintenance and inspections of these protective coatings are essential to detect any signs of corrosion early on and maintain the turbine's efficiency and structural integrity over time.
Power Cable Routing
Properly routing the power cables from the wind turbine to your house is key for a safe and efficient connection. Following NEC/CEC guidelines is vital to guarantee compliance with safety standards.
When routing power cables, consider using liquid-tight fittings to provide wire strain relief and protect the cables from damage. Options like PVC conduit or teck cable can be utilized for feed cable installation from the turbine to the house.
Additionally, it's recommended to use ultraviolet cables for tie-offs to secure durability and longevity of the connection. When dealing with underground cable connections, adhering to NEC/CEC guidelines is particularly important to uphold safety standards.
Charge Controller Installation
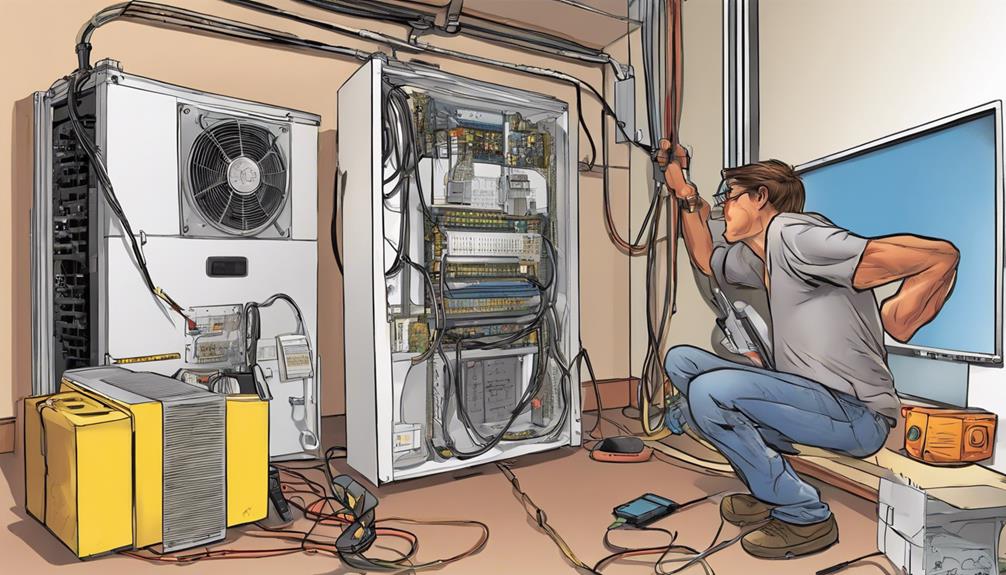
Consider placing the charge controller near the battery bank to efficiently regulate the voltage and current from the wind turbine. The charge controller plays a pivotal role in managing the energy flow and safeguarding the battery bank from overcharging. By properly installing the charge controller, you make sure that the voltage levels are controlled, preventing any damage to the batteries due to overvoltage. This step is necessary for maintaining the health and longevity of your battery bank.
When setting up the charge controller, verify it is compatible with the voltage requirements of your system. Below is a table to help you understand the significance of a charge controller in your wind turbine system:
| Aspect | Significance |
|---|---|
| Regulates voltage | Prevents overcharging of batteries |
| Battery protection | Extends battery life |
| Energy flow control | Efficient management of energy |
Electromagnetic Brake Setup

Setting up the electromagnetic brake in your wind turbine is essential for ensuring safe operation during emergencies and maintenance procedures. The electromagnetic brake serves as a vital component in your turbine, providing a controlled method for halting the rotor in high winds or when maintenance is required.
When activated, the brake cuts off power to the turbine, prompting the electromagnet to engage and bring the rotor to a stop efficiently. This system is designed to prevent damage or accidents by enabling the turbine to halt swiftly and securely.
Proper installation and regular maintenance of the electromagnetic brake are crucial to guarantee the safety and functionality of your wind turbine. By following the manufacturer's guidelines and ensuring the brake is correctly set up, you can have peace of mind knowing that your turbine has a reliable mechanism to stop when needed, safeguarding both the equipment and individuals in the vicinity.
Frequently Asked Questions
How Big of a Wind Turbine Do You Need to Power a House?
You need a medium-sized wind turbine, typically 5-15 kW, to power a house. The size depends on factors like wind speed and energy consumption. A 10 kW turbine can produce around 10,000 kWh per year, covering a significant portion of your needs.
Can I Attach a Wind Turbine to My House?
Yes, you can attach a wind turbine to your house. Guarantee proper installation and safety measures. Consider wind speed, location, and regulations. Consult professionals for efficient wiring. Connecting a wind turbine can reduce electricity costs and promote sustainability.
How Do You Connect a Wind Turbine to the Grid?
To connect a wind turbine to the grid, you need a grid-tie inverter. It converts the turbine's DC electricity to AC power compatible with the grid. Verify compliance with regulations and safety standards for a seamless connection.
Do I Need Permission to Put up a Wind Turbine?
Before setting up a wind turbine, confirm if you need permission. Check local regulations, consult zoning boards, and secure necessary permits. Skipping this step may lead to fines or legal troubles. Stay compliant!
Can the Same Techniques for Wiring a Wind Turbine to a Solar System Be Applied to Wiring It to a House?
Yes, the same techniques for wiring a wind turbine to a solar system can be applied to hook up wind turbine solar system to a house. Both systems require similar wiring configurations to connect the power generated from the wind turbine to the solar system and then to the house’s electrical system.
Conclusion
So there you have it – now you're officially a wind power expert!
Just remember to always check the weather forecast before relying solely on your turbine for power.
And if all else fails, you can always blame any electrical issues on the wind…or your cat.
Happy wind-turbining!