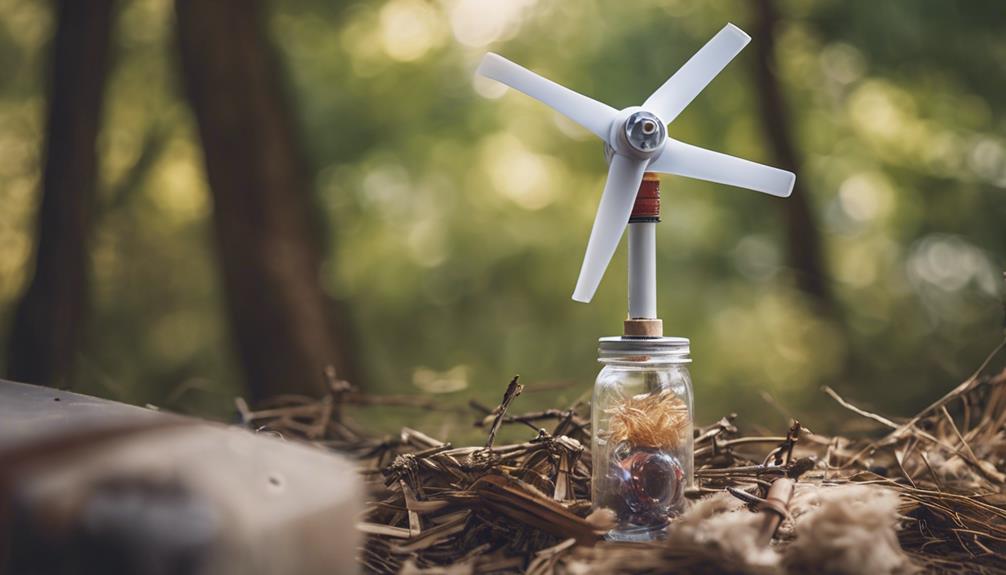
To make a small wind turbine from household items, choose a surplus permanent magnet DC motor. Cut PVC pipes into airfoil shapes for efficient blade construction. Build a sturdy hub assembly and securely mount the turbine for best energy generation. Guarantee a stable tower base with proper bracing techniques and durability for performance. Paint wooden parts with weather-resistant paint for longevity. The turbine head assembly captures wind energy and needs a secure connection. Follow the assembly instructions carefully and test power output. For more detailed steps on generator selection, blade construction, hub assembly, and installation, continue with the informative guide.
Key Takeaways
- Construct blades from PVC pipes for optimal airfoil shape.
- Securely attach blades to a sturdy hub for efficiency.
- Use household items for tower base and mounting system.
- Optimize blade length and angle for energy generation.
- Ensure proper balance and alignment for effective operation.
Generator Selection
When selecting a generator for your small wind turbine, prioritize a surplus permanent magnet DC motor that meets specific voltage, current, and power output requirements. This motor will be essential in converting the kinetic energy from the wind into electrical power for your system.
A surplus permanent magnet DC motor is ideal due to its efficiency and ability to start generating power even on a windy day with low speeds.
Ensure that the motor shaft of the chosen generator is sturdy enough to withstand the rotational forces exerted by the wind turbine blades. This will help prevent wear and tear, ensuring a longer lifespan for your system.
Additionally, make sure the generator is compatible with your battery bank and charge controller to efficiently store and distribute the energy generated.
Blade Construction
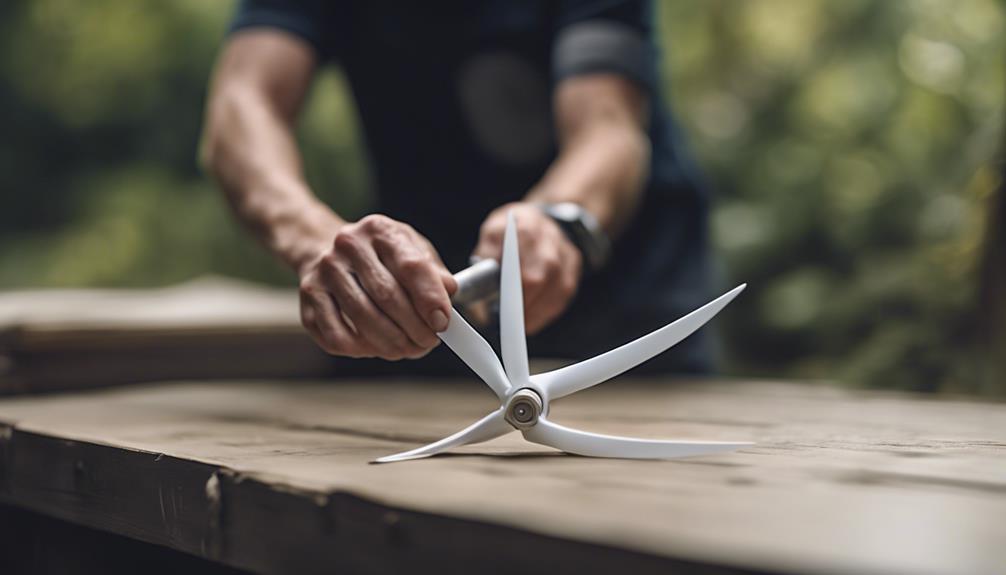
Select PVC pipes and form them into airfoil designs to construct efficient wind turbine blades. Using a jigsaw or PVC pipe cutter, carefully shape the blades following a predetermined template. It is important to make sure the blades are symmetrical and balanced to avoid wobbling during rotation. To attach the blades securely to the hub, use screws or adhesive that can withstand strong wind forces. Remember to optimize the blade length and angle based on wind speed calculations to maximize energy generation.
| Blade Construction Tips | |
|---|---|
| Cut PVC pipes into airfoil shapes | Use a jigsaw or PVC pipe cutter |
| Ensure blades are symmetrical and balanced | Prevent wobbling during rotation |
| Attach blades securely to the hub | Use screws or adhesive |
| Optimize blade length and angle | Maximize energy generation |
| Shape blades according to a pre-determined template | Follow specific design for efficiency |
Hub Assembly
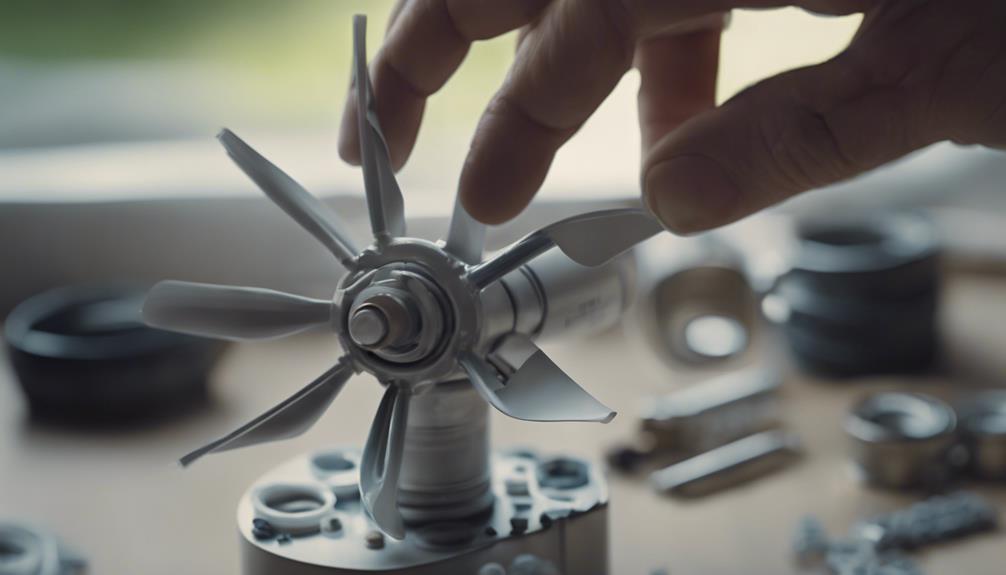
You'll investigate the hub construction process and the method used to attach the blades in the upcoming section. Understanding how the hub is built and how the blades are firmly connected is essential for the turbine's functionality.
Let's explore the intricacies of hub assembly to guarantee a well-designed and efficient wind turbine.
Hub Construction Process
Constructing the hub assembly for a small wind turbine involves connecting the blades securely to the generator for efficient power generation. To achieve top-notch performance, it's essential to focus on balancing and utilizing robust materials.
When constructing the hub, it's pivotal to select sturdy materials such as metal or strong wood. These materials enhance the hub's durability, ensuring it can withstand the forces exerted by the rotating blades. Proper balancing of the hub is also crucial to prevent vibration and guarantee smooth operation.
During the assembly process, drilling holes for blade attachment and securing the hub to the generator shaft are common steps. By aligning and balancing the hub accurately, you can enhance the overall efficiency and longevity of your DIY wind turbine.
Blade Attachment Method
To firmly attach the PVC pipe blades to the hub, use bolts and washers for a stable connection. Make sure the blades are evenly spaced around the hub to achieve balanced rotation.
Follow these steps for a successful blade attachment method:
- Uniform Spacing: Before attaching the blades, mark equidistant points on the hub to guarantee the blades are evenly spaced. This step is essential for the turbine's efficiency and smooth operation.
- Creating Holes: Use a drill to create holes in the hub where the bolts will secure the blades. Ensure the holes are aligned with the pre-marked spots for proper blade positioning.
- Thread-Locking Adhesive: After inserting the bolts through the holes and attaching the blades with washers, apply thread-locking adhesive to the bolts. This adhesive will prevent the bolts from loosening due to vibrations, keeping the blades firmly in place during operation.
Turbine Mounting Process
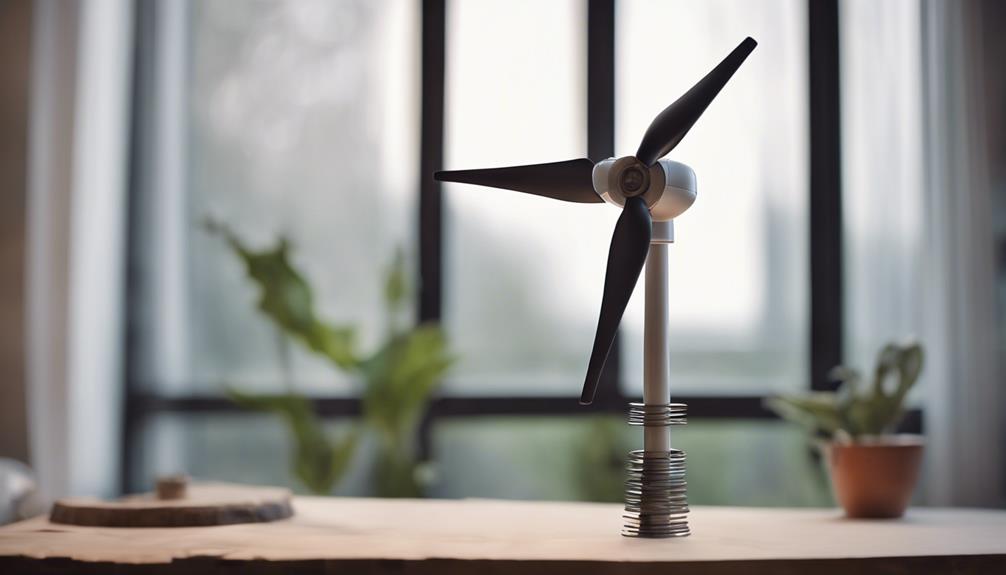
For a small wind turbine project, establishing a stable base to support the turbine is a vital step in the turbine mounting process. To guarantee the stability of the wind turbine, make sure to incorporate proper bracing techniques during the mounting process. Proper bracing involves securing the tower base with additional supports to withstand wind forces effectively. Anchoring the base securely into the ground is also necessary for stability.
Additionally, painting all wooden parts with weather-resistant paint is essential in the turbine mounting process. The paint helps protect the wood from weather elements, extending the lifespan of the mounting structure. By painting the components, you can prevent rotting and decay, ensuring the longevity of your small wind turbine project.
Proper bracing, anchoring, and painting are key elements in the turbine mounting process that contribute to the overall stability and durability of the wind turbine structure. Be sure to follow these steps diligently to create a robust base for your small wind turbine.
Tower Base Building
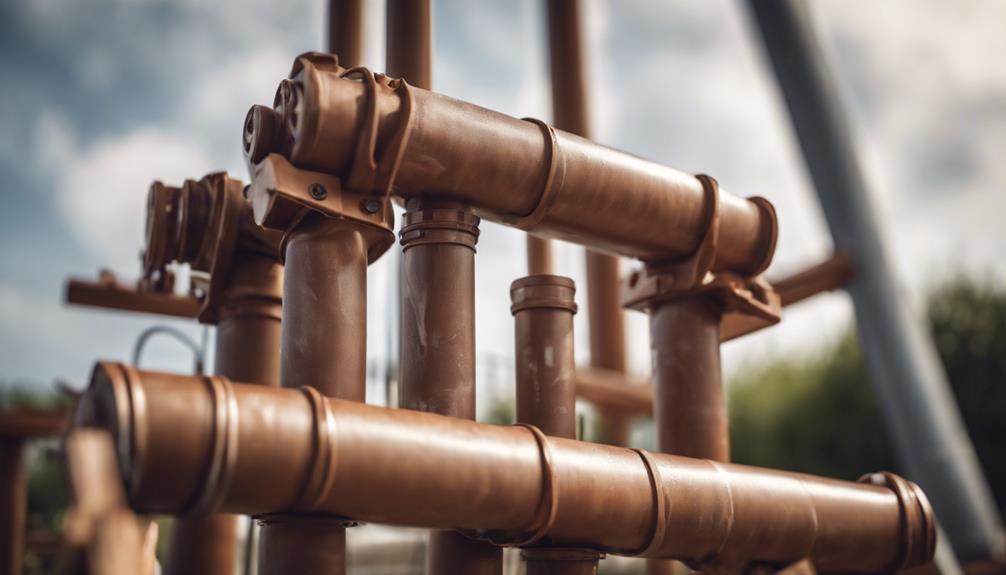
Building a sturdy tower base is essential for providing the necessary stability and support for your small wind turbine structure.
When constructing the base for your wind turbine, consider the following key points:
- Base Construction: Utilize durable materials like wood, metal, or concrete to guarantee the tower base is strong and long-lasting.
- Anchoring: Securely anchor the base to the ground to withstand the forces exerted by the wind on the turbine. This will prevent the tower from shifting or toppling over during operation.
- Bracing: Implement proper bracing and reinforcement techniques to add additional support and prevent the tower from swaying or leaning. Bracing helps distribute the load evenly and enhances the overall stability of the structure.
Wood Parts Painting

When painting the wood parts of your small wind turbine, using white latex paint can effectively safeguard them from weather damage. It acts as a barrier shielding the wood against moisture, UV rays, and other environmental factors that could cause deterioration.
Every time you paint the four pieces of wood typically used in the turbine, you're extending their lifespan and maintaining the structural integrity of the entire system.
Additionally, a well-applied coat of paint not only serves a protective function but also enhances the turbine's appearance, giving it a clean and polished finish.
To make certain maximum protection, consider applying multiple coats of paint, allowing each layer to dry completely before adding the next. This thorough coverage will provide better defense against the elements and contribute to the longevity of your DIY wind turbine.
Wind Turbine Head Assembly
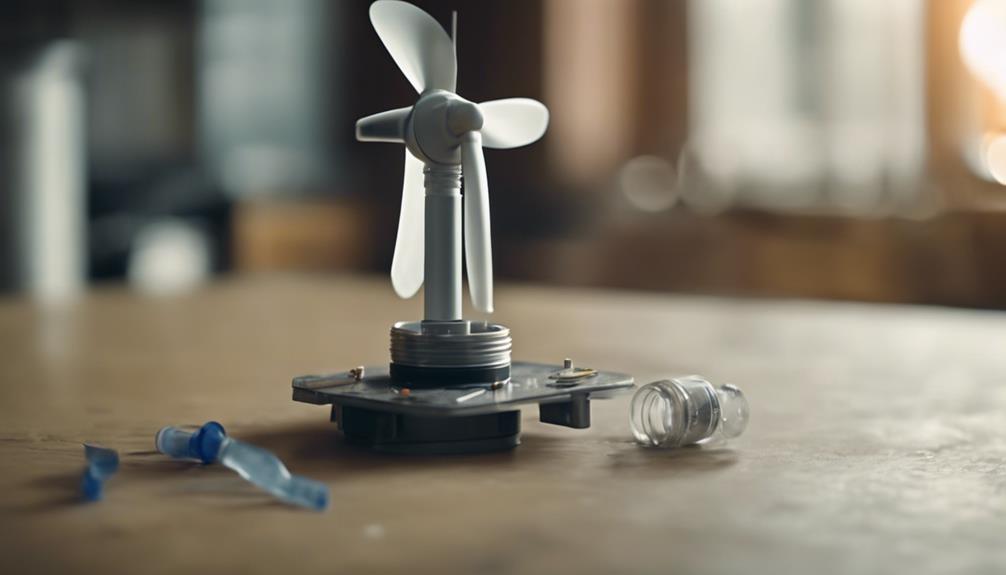
You'll learn about the vital components of the wind turbine head assembly, including the blades, hub, and generator.
Discover clear assembly instructions that guide you through the process of putting together these essential parts.
Once assembled, testing and optimizing the wind turbine head will guarantee it operates at its peak efficiency for power generation.
Head Unit Components
The head unit components of a small wind turbine, including the blades, hub, and mounting system, play important roles in capturing wind energy and converting it into usable power.
- Blades:
These are pivotal components responsible for capturing the wind's kinetic energy. The design and material of the blades greatly impact the turbine's efficiency in harnessing wind power.
- Hub:
The hub connects the blades to the generator. It's essential for transferring the rotational energy from the blades to the generator efficiently. Ensuring a secure and stable connection is essential for optimal power generation.
- Mounting System:
A sturdy mounting system is crucial for the stability and proper orientation of the wind turbine head. It ensures that the turbine is positioned correctly to capture the maximum wind energy. Proper installation and alignment of the mounting system are vital for the overall performance of the turbine.
Assembly Instructions
To assemble the wind turbine head, start by connecting the blades securely to the hub using screws or adhesive. Confirm the blades are firmly attached to the hub to withstand wind forces. Once the blades are in place, mount the hub with blades onto the generator shaft and secure it firmly for stability. It's essential to balance the turbine head correctly to prevent any wobbling during operation, which could impact its efficiency.
Here's a helpful table to guide you through the assembly process:
| Step | Description |
|---|---|
| Connect Blades | Attach blades to the hub securely using screws or adhesive. |
| Mount Hub | Place the hub with blades onto the generator shaft and secure. |
| Balance Turbine Head | Ensure proper balance to prevent wobbling during operation. |
After assembling the turbine head, test the setup by manually spinning the blades to confirm smooth rotation, indicating that the assembly was successful.
Testing and Optimization
For evaluating the performance of your wind turbine head assembly, it's important to test its efficiency in actual windy conditions. Here are some key steps to keep in mind:
- Monitor Blade Rotation and Power Output:
Keep a close eye on how the blades rotate and the amount of power generated by the turbine. This will give you an indication of how well the turbine is performing and whether any adjustments are needed.
- Optimize Blade Angle and Positioning:
Make adjustments to the angle and positioning of the blades to ensure they're capturing the maximum amount of wind energy. This optimization can greatly improve the overall efficiency of your wind turbine.
- Check Electrical Connections:
Verify that all electrical connections are secure and functioning properly while testing the wind turbine head assembly. Faulty connections can lead to power loss and affect the performance of your turbine.
Charge Controller Setup
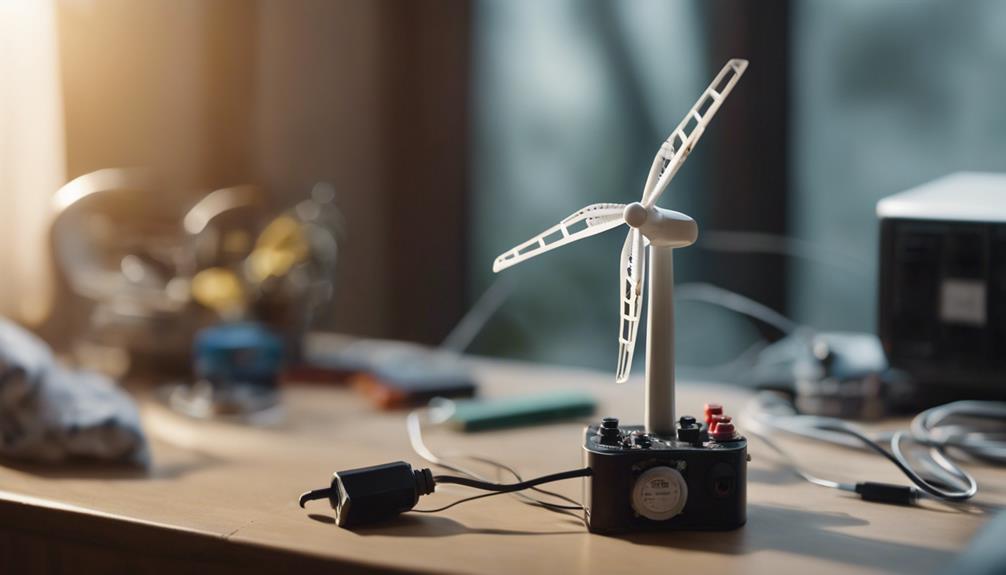
Setting up your charge controller correctly is vital for the efficient operation of your small wind turbine system. The charge controller plays a significant role in regulating the electricity flow from the wind turbine to the batteries, preventing overcharging and optimizing charging efficiency. By managing the voltage and current entering the batteries, the charge controller helps extend battery lifespan by avoiding damage caused by overcharging.
To confirm your charge controller is functioning properly, it's important to monitor the battery voltage regularly. This monitoring will allow you to verify that the charge controller is maintaining the battery bank at the correct levels.
Understanding the importance of the charge controller in your system is key to guaranteeing safe and efficient operation of your small wind turbine setup. Properly configuring your charge controller won't only protect your batteries but also maximize the performance of your DIY wind turbine system.
Tower Erection

Confirming the stability and structural integrity of your tower is essential before proceeding with the erection process for your small wind turbine system. Here are three key points to keep in mind:
- Materials and Design:
Utilize plywood and pipe fittings to construct a sturdy tower that can support the weight of the wind turbine. Make sure the design provides ample height for the turbine to capture maximum wind energy efficiently.
- Bracing and Anchoring:
Securely brace the tower to prevent swaying and potential collapse in strong winds. Anchor the base of the tower firmly to the ground to withstand wind loads and maintain stability during operation.
- Height Considerations:
The tower should be tall enough to elevate the turbine above obstacles and turbulent air close to the ground. The ideal height will enhance the turbine's performance by allowing it to access more consistent and stronger wind currents.
Wind Turbine Installation
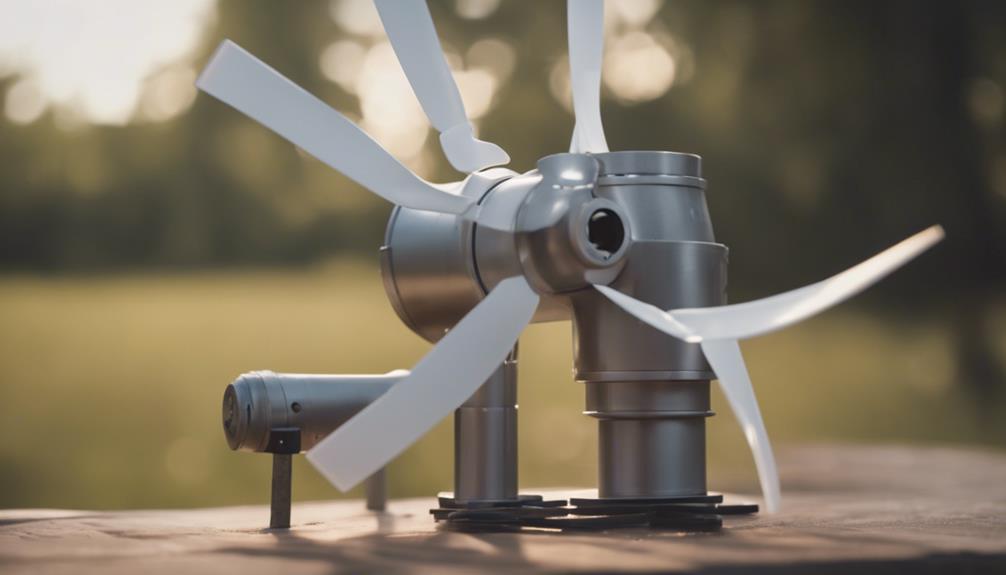
You're about to learn about the installation process overview as well as the safety precautions during the installation of a small wind turbine.
These key points will guide you through setting up your turbine correctly and securely, ensuring best performance and longevity.
Let's get started on installing your small wind turbine efficiently and safely.
Installation Process Overview
When installing a small wind turbine, the first step involves firmly anchoring the tower base into the ground to provide a stable foundation for the turbine head.
Once the base is secured, the turbine head is assembled and mounted on top of the tower, requiring precise positioning and alignment to ensure efficient operation.
After the head is in place, the control system and batteries are connected to the turbine to enable proper functionality and store generated power.
To summarize:
- Anchor the tower base: Establish a stable foundation by firmly fixing the tower base into the ground.
- Assemble and mount the turbine head: Carefully position and align the turbine head on top of the tower for best performance.
- Connect control system and batteries: Establish the necessary connections to enable the turbine's functionality and store generated power.
Safety Precautions During Installation
To guarantee your safety during the installation of a small wind turbine, always wear appropriate safety gear such as gloves, goggles, and sturdy footwear. These items will help protect you from potential hazards like sharp edges, debris, or electrical components.
Additionally, make sure to securely anchor the turbine to prevent any accidents caused by it falling or tipping over during installation. When working on the setup, use proper tools and equipment to reduce the risk of accidents or injuries.
Following the manufacturer's guidelines and instructions is vital for the safe installation and operation of the wind turbine. Be especially cautious of electrical hazards and take necessary precautions when connecting the turbine to a power system.
Frequently Asked Questions
How to Make a Small Wind Turbine at Home?
You can easily make a small wind turbine at home. Gather materials like a hobby motor, popsicle sticks, cups, and LEDs. Build the fan assembly, create the base, test it outdoors, and understand its sustainable energy production for best efficiency.
Is It Illegal to Build Your Own Wind Turbine?
Building your own wind turbine is generally legal, but it's important to follow local regulations and obtain necessary permits. Check zoning laws, codes, and rules beforehand. Improper installations can lead to safety hazards and legal consequences.
How Much Power Does a Homemade Wind Turbine Produce?
A homemade wind turbine can produce anywhere from 100 to 2,500 watts of power, influenced by factors like wind speed and blade design. Experimenting with different designs can help optimize power output for your needs.
What Materials Are Used to Make a Small Wind Turbine?
Imagine crafting a small wind turbine out of household items. PVC pipes shape turbine blades, while wooden sticks form the tower. Old CDs reflect wind, plastic bottles enhance blades, and small hobby motors act as generators. Create your own renewable energy source.
Can I Use Household Items to Make a Wind Turbine at Home?
Yes, you can easily find a wind turbine diy tutorial at home using household items. With a bit of creativity and some basic materials like PVC pipes, magnets, and wires, you can construct your own small-scale wind turbine to harness the power of the wind and generate clean energy.
Conclusion
Now that you have completed building your small wind turbine out of household items, all that's left is to see it in action. Get ready to harness the power of the wind and watch as your DIY project comes to life.
It's time to see the fruits of your labor pay off and enjoy the benefits of renewable energy in your own home. Get ready for an exciting journey ahead!
