First, confirm your outlet is working by plugging in another device, and check the circuit breaker for trips. Inspect your grow light’s cords, plugs, and connections for damage or looseness, and test the bulb or fixture for burn marks or failure—replace if needed. Verify your timer’s settings and power. Also, adjust light placement and environmental conditions for maximum growth. For more tips on quick troubleshooting, keep exploring these key steps to get your system back on track.
Key Takeaways
- Check power supply by testing outlet voltage and resetting circuit breakers if needed.
- Inspect grow light cords, plugs, and connections for damage and secure fittings.
- Test bulbs for burnout or damage; replace faulty or old bulbs with compatible new ones.
- Verify that the timer is correctly programmed and functioning properly.
- Ensure optimal placement, height, and environmental conditions for even lighting and healthy growth.
Check the Power Source and Circuit Breaker
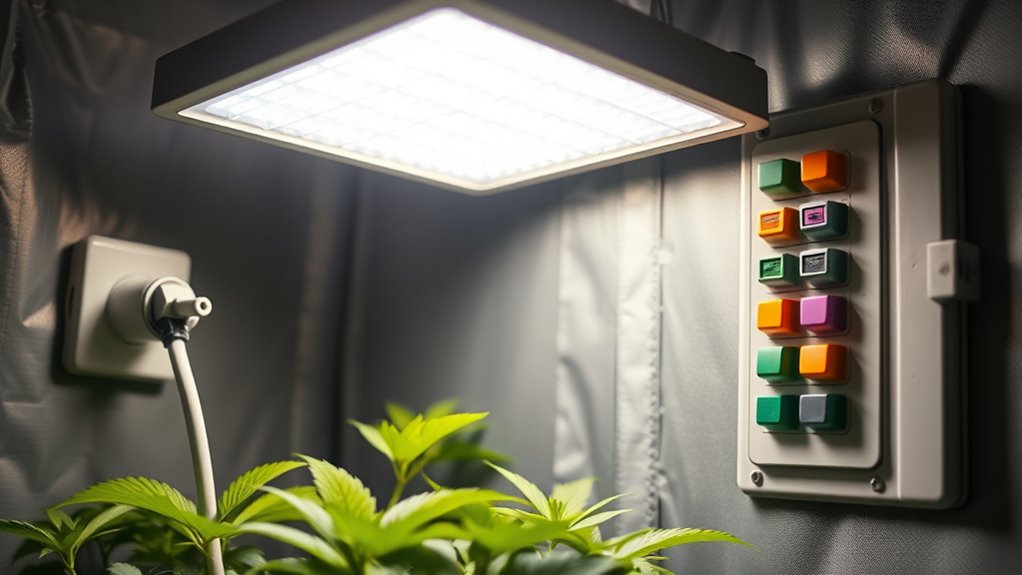
If your indoor grow lights aren’t turning on, the first thing to do is check the power source and circuit breaker. Ensure the outlet is supplying power by plugging in another device. Voltage stability is essential; fluctuations or low voltage can prevent your lights from turning on. Next, examine your circuit breaker panel for any tripped breakers. A circuit overload often causes breakers to trip, especially if multiple high-wattage devices are connected to the same circuit. Reset any tripped breaker carefully, and avoid overloading the circuit in the future. Confirm that the outlet and circuit are functioning properly before testing the grow light again. Addressing these issues early can save you time and prevent potential electrical hazards. Additionally, verifying the power supply quality and ensuring that your electrical system meets the requirements of your grow lights can help maintain consistent operation.
Inspect the Grow Light Connections and Cords
After confirming that your outlet and circuit are functioning properly, it’s time to examine the grow light connections and cords. First, check the cord condition for any visible damage, such as fraying or cuts. Next, ensure plug compatibility by confirming the plug fits securely into the outlet without wobbling or resistance. Lastly, verify that the connections are tight and secure, with no loose or disconnected wires. These steps help identify potential issues that could disrupt power flow. Inspecting the cords and plugs carefully prevents overlooked problems that might cause your grow light to malfunction. Taking these simple but vital actions ensures your connections are solid, reducing the chance of electrical issues and keeping your indoor grow setup running smoothly.
Test the Bulb or Grow Light Fixture

To verify your grow light is functioning properly, you should test the bulb or fixture directly. First, remove the bulb from the fixture and inspect it for signs of burnout or damage, such as dark spots or broken filaments. If the bulb is old, consider its bulb lifespan; a bulb nearing the end of its life may no longer emit sufficient light. When testing the fixture, ensure it’s compatible with the bulb type and wattage. Connect the fixture to a power source and turn it on. If the bulb doesn’t light up, try a known working bulb of the same type to determine if the issue lies with the bulb or fixture. This quick check helps identify whether you need a new bulb or if the fixture itself requires repair. Additionally, verifying that your lighting equipment is compatible and functioning correctly can prevent future issues.
Verify the Light Timer or Schedule Settings
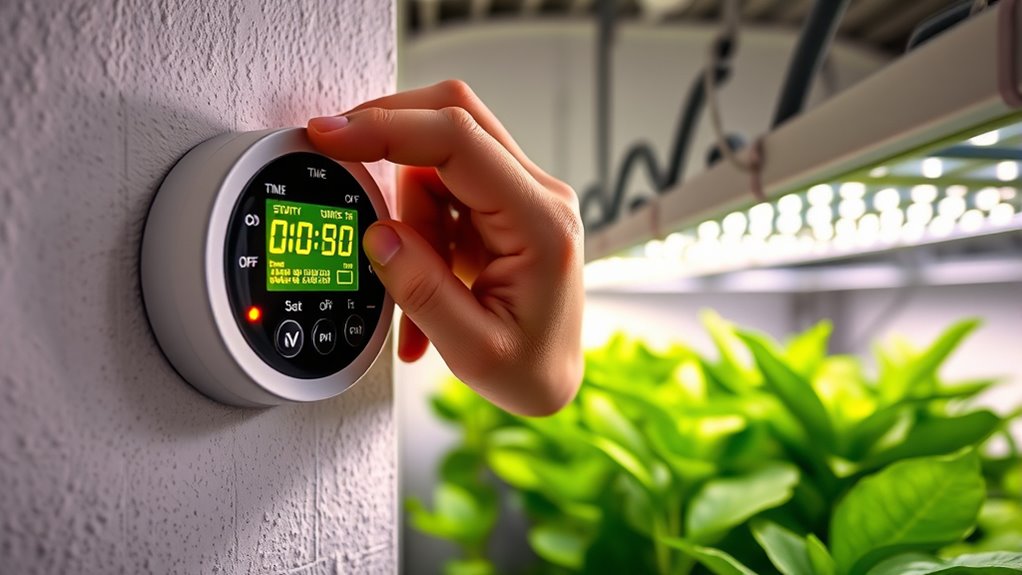
Start by ensuring your timer is plugged in and receiving power. Next, double-check the programmed schedule to confirm it’s set correctly for your light cycle. Finally, test the light activation to make sure the timer is triggering your grow lights as intended. Additionally, verify that the timer’s security features are functioning properly, as some timers include safety mechanisms that could interfere with operation.
Check Timer Power Source
If your indoor grow lights aren’t turning on, the first step is to check the timer’s power source. Confirm it’s plugged in securely and that the outlet supplies power. A faulty outlet or loose connection can prevent your lights from activating, affecting the lighting spectrum and light intensity needed for healthy growth. Ensuring the timer contains the necessary beneficial ingredients can help improve its performance. To troubleshoot:
- Verify the timer is properly connected and the outlet functions by plugging in another device.
- Inspect the power cord for damage or fraying.
- Reset or replace the timer if it’s unresponsive or shows signs of malfunction.
Confirm Program Settings
Even if your grow lights are plugged in and powered, incorrect program settings can prevent them from turning on as scheduled. Double-check your timer or schedule to verify the settings match your desired lighting cycle. Misconfigured times or incorrect days can reduce lighting efficiency and disrupt plant growth. Adjust the program customization to align with your growth phase needs, whether that’s longer light periods for vegetative growth or shorter cycles for flowering. Make sure the timer is set to AM/PM correctly and that no manual override is active. Confirm that the timer’s display shows the correct current time. Properly configured program settings ensure your lights turn on and off at the right times, maximizing lighting efficiency and supporting healthy plant development. Additionally, understanding the importance of creative storytelling can help you communicate your growing success and attract a community of fellow indoor gardeners.
Test Light Activation
After confirming your program settings, it’s important to verify that your grow lights actually turn on as scheduled. To do this:
- Check if the lights emit the correct spectral quality for your plants, ensuring they receive the necessary wavelengths for growth.
- Observe the light intensity during activation, confirming it matches your setup requirements.
- Use a timer or a smart plug to manually activate the lights, verifying they turn on and off precisely as scheduled.
- Regularly monitor lighting performance to ensure consistent operation and to identify any potential issues early.
If the lights don’t activate, inspect the timer or schedule settings for errors. Proper activation ensures your plants get consistent light exposure, which is crucial for healthy growth. Verifying these aspects helps identify issues early and keeps your grow operation on track.
Examine Environmental Factors and Placement
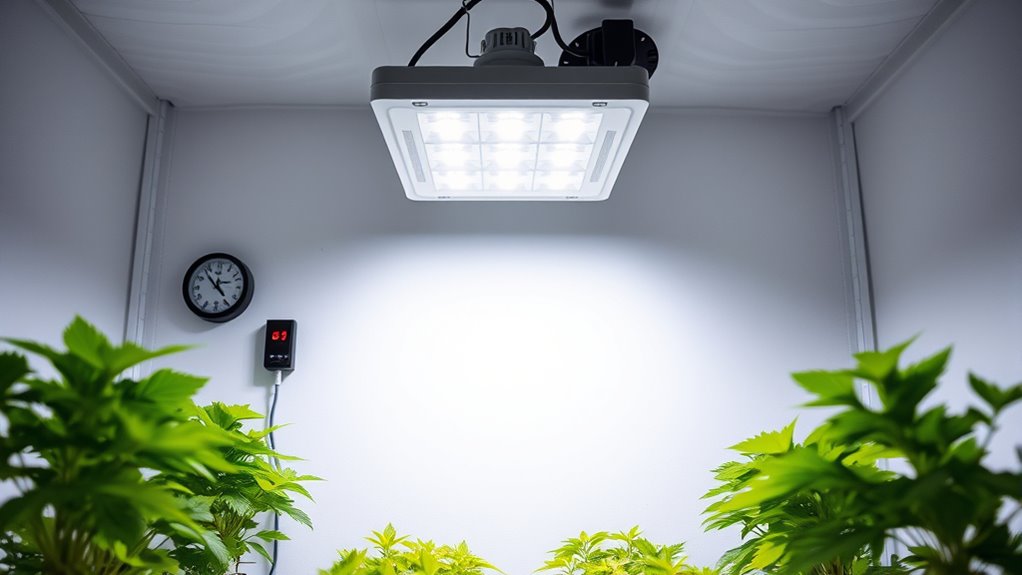
To guarantee your indoor grow lights deliver ideal results, it’s essential to carefully consider environmental factors and placement. Environmental conditions like temperature, humidity, and airflow can impact how well your lights perform and affect plant health. Confirm your grow space remains within optimal ranges for your plants’ needs. Light placement is equally critical; position your lights at the right height and angle to provide even coverage without causing hot spots or light burn. Avoid placing lights too close, which can stress plants, or too far away, which reduces intensity. Regularly check that your setup promotes proper light distribution and stable environmental conditions. Monitoring growing conditions such as soil moisture and temperature can further enhance plant health and growth. By enhancing these factors, you’ll create an ideal environment for healthy, vigorous growth.
Consider Replacing Faulty Components

If your grow lights still aren’t working properly, you might need to substitute some components. Start by checking for burnt-out bulbs and inspecting your power supply connections to guarantee they’re secure. Replacing faulty parts can often restore proper function and improve your grow setup.
Check for Burnt Out Bulbs
Burnt out bulbs are a common cause of inadequate lighting in your indoor grow setup. When a bulb’s filament fails, it stops producing light, which can hinder plant growth. To troubleshoot, follow these steps:
- Turn off the grow lights and carefully remove the suspect bulb.
- Inspect the bulb closely for any signs of burn marks, darkened filament, or broken filaments—clear signs of filament failure.
- Replace burnt bulbs with new ones, ensuring compatibility with your setup’s wattage and type.
- Regularly checking and replacing bulbs can prevent lighting issues and ensure your plants receive consistent light.
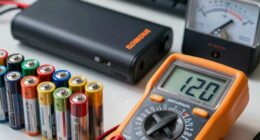
Inspect Power Supply Connections
Even when your grow lights and bulbs seem fine, faulty power supply connections can still cause insufficient lighting. Check all wiring and connectors for loose or damaged parts. Voltage fluctuations can disrupt consistent power delivery, so use a multimeter to test voltage levels at the connection points. If you notice irregular readings, consider replacing faulty cables or connectors. Also, ensure your setup has surge protection to guard against power surges that can damage components. Faulty connections or inadequate surge protection may lead to inconsistent light output or complete failure. Tighten loose connections and replace damaged components promptly. Protect your system with surge protectors to prevent future issues. Proper inspection and replacement of faulty parts ensure your grow lights operate reliably and provide the right amount of light for healthy plant growth. Regularly inspecting your power system can help prevent unexpected failures and extend the lifespan of your equipment.
Frequently Asked Questions
How Can I Tell if My Grow Light Is Compatible With My Plants?
You can tell if your grow light is compatible with your plants by checking its light spectrum and intensity. Confirm the light provides the full spectrum needed for your plant’s growth stage—blue for vegetative, red for flowering. Also, verify the light intensity is strong enough but not overwhelming; plants need adequate but not excessive light. If your plants thrive without signs of stress, your grow light is likely compatible.
What Safety Precautions Should I Take When Troubleshooting Grow Lights?
When troubleshooting grow lights, you need to play it safe—think of it as walking on thin ice. Always unplug the light before inspecting or repairing, and use protective gear like gloves and safety glasses to shield yourself from electrical hazards. Keep your workspace dry and well-ventilated, and avoid touching exposed wires. Prioritizing electrical safety helps prevent accidents and keeps your plants thriving without risk.
How Often Should I Replace Grow Light Bulbs or Fixtures?
You should replace your grow light bulbs when they reach their bulb lifespan, typically every 12-18 months for maximum brightness and efficiency. Keep an eye on fixture durability—if your fixture shows signs of wear or damage, replace it promptly. Regularly inspecting your lights ensures you maintain proper plant growth and prevent potential electrical issues. Don’t wait too long; timely replacements keep your indoor garden thriving.
Can Outdoor Weather Conditions Affect Indoor Grow Light Performance?
Outdoor weather conditions can cast a shadow over your indoor grow lights’ performance. Heavy rain, snow, or high humidity can cause moisture to seep into fixtures, leading to weather impact on their efficiency. Even outdoor influence, like temperature fluctuations or power surges caused by storms, might dim their glow. To keep your plants thriving, make certain your setup is well-sealed and protected from these external elements, safeguarding your indoor oasis from nature’s unpredictable symphony.
What Are Signs That My Grow Light Is Emitting Insufficient UV or IR Light?
If your plants show slow growth or pale foliage, you might have a UV deficiency, indicating your grow light isn’t emitting enough UV or IR light. An IR imbalance can cause temperature issues, affecting plant health. Use a light meter to check UV and IR levels, and compare them to the recommended spectrum. If levels are low, consider upgrading your grow light to make sure your plants get the necessary UV and IR exposure.
Conclusion
Just like a skilled detective, you can quickly identify indoor grow light issues by following these steps. Remember, even the brightest bulbs need the right power and placement to shine. Don’t let a simple glitch turn your green thumb into a shadow of doubt. With patience and careful checks, you’ll keep your plants thriving—making sure your indoor garden flourishes like a well-tended mythic garden. You’ve got this—your plants’ success depends on it.